Whatever side of the playground you prefer, there’s one common enemy that both Apple and Google users have, the data thief. Whether you’re using an Android or iOS device your accounts are vulnerable and they’re even more vulnerable if you’re not securing them properly. The first step in securing your Apple and Google accounts is a good strong password, but that’s just one layer in a good defense. A second layer of defense is setting up two-step verification which both Apple and Google offer to their users. In this article we’ll explain how to quickly setup two-step verification for your Apple ID, our next installment will be how to setup your Google two-step verification.
Apple ID Two Step Verification Setup
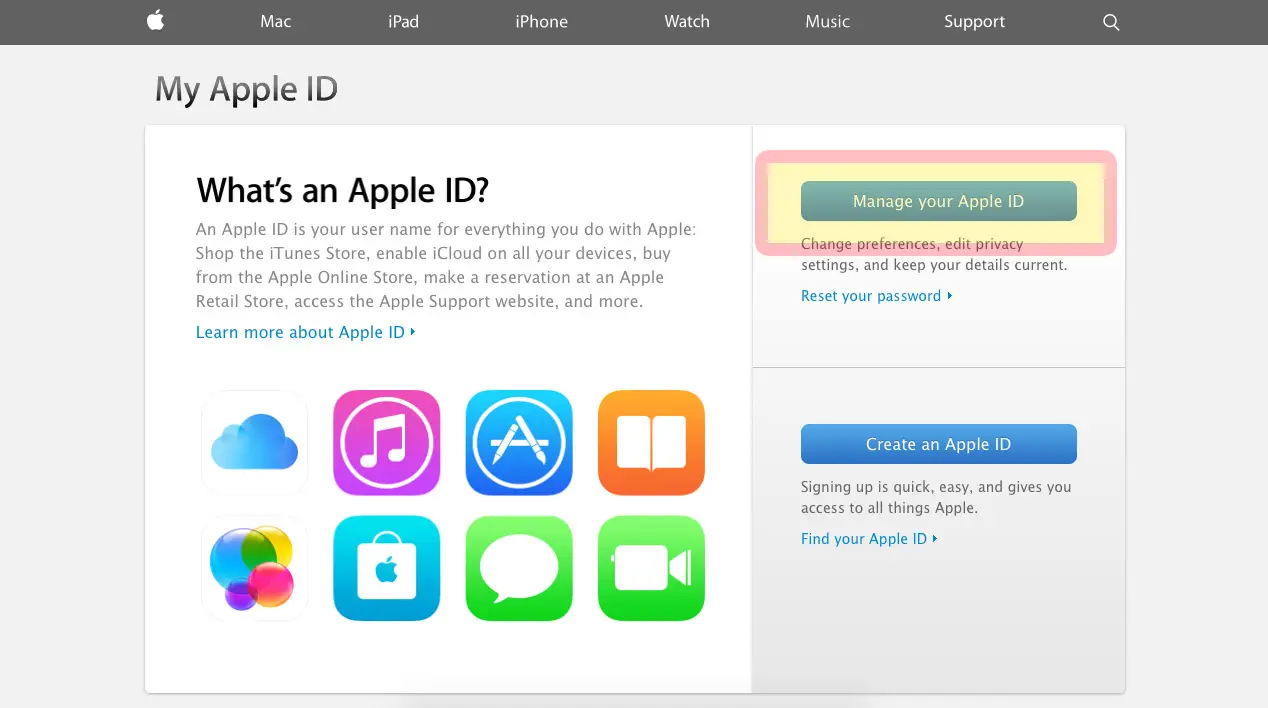
Step – 1: Go to My Apple ID to begin the process.
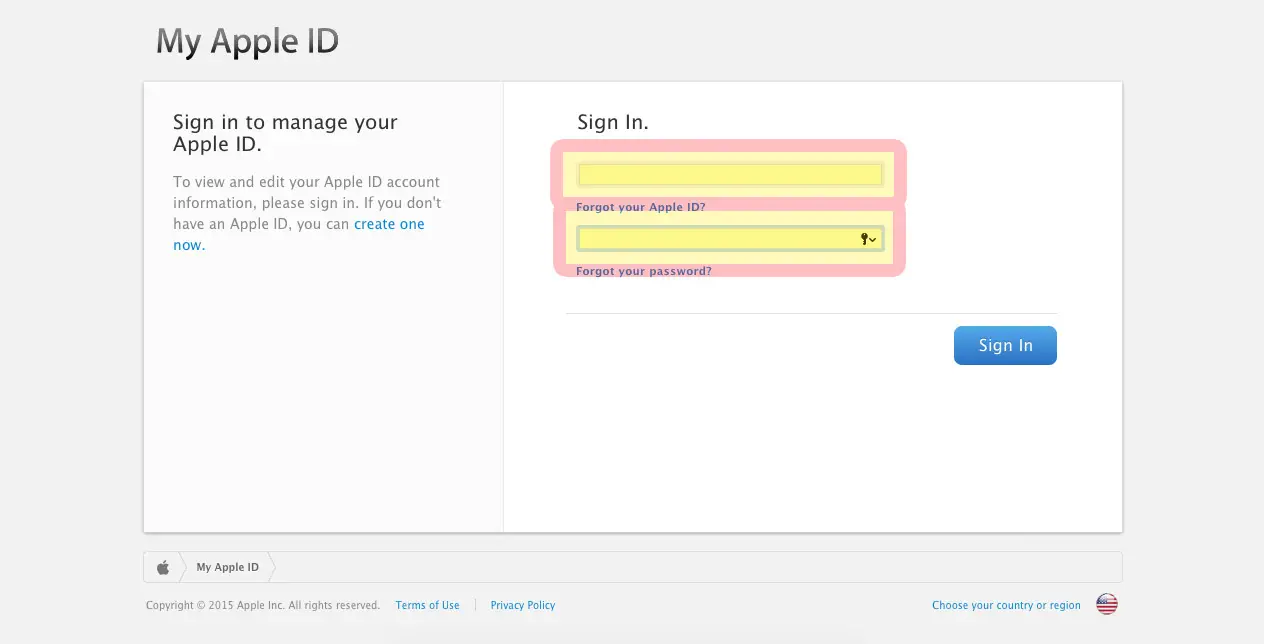
Step – 2: Sign in with your Apple ID credentials.
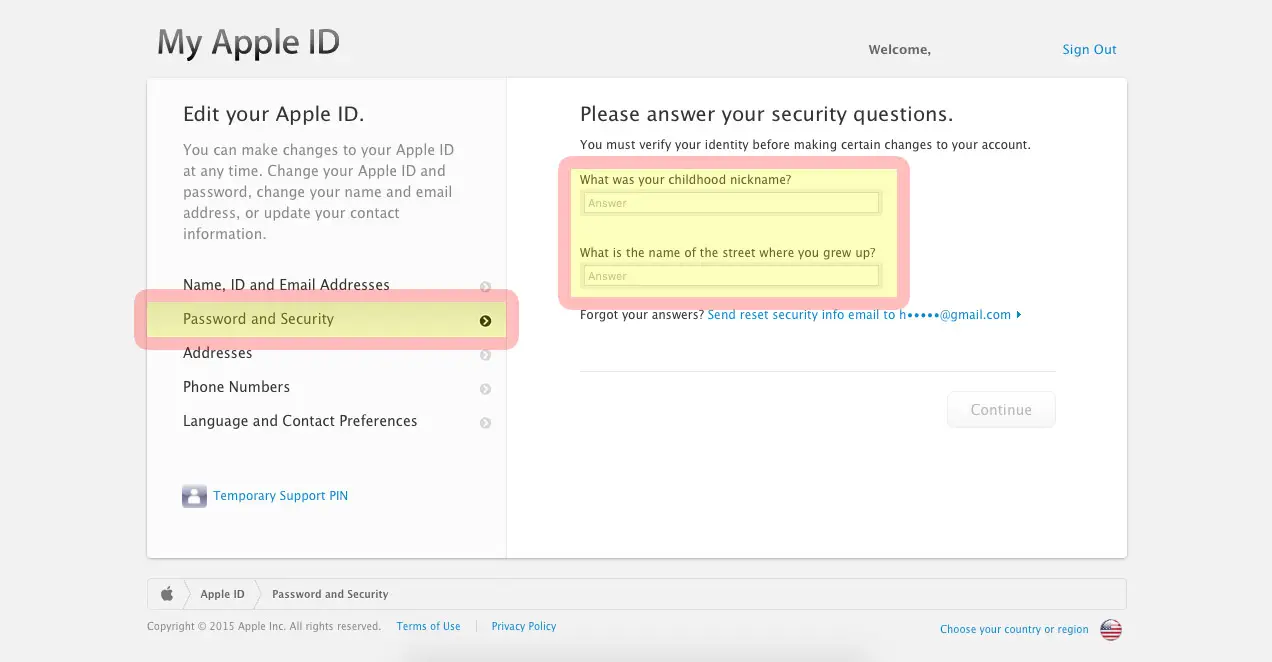
Step – 3: Answer the security questions you setup when applying for an Apple ID.
Step – 4: Choose “Get started…” under Two-Step Verification.

Step – 5: Read important information regarding Two-step verification, click Continue when ready.
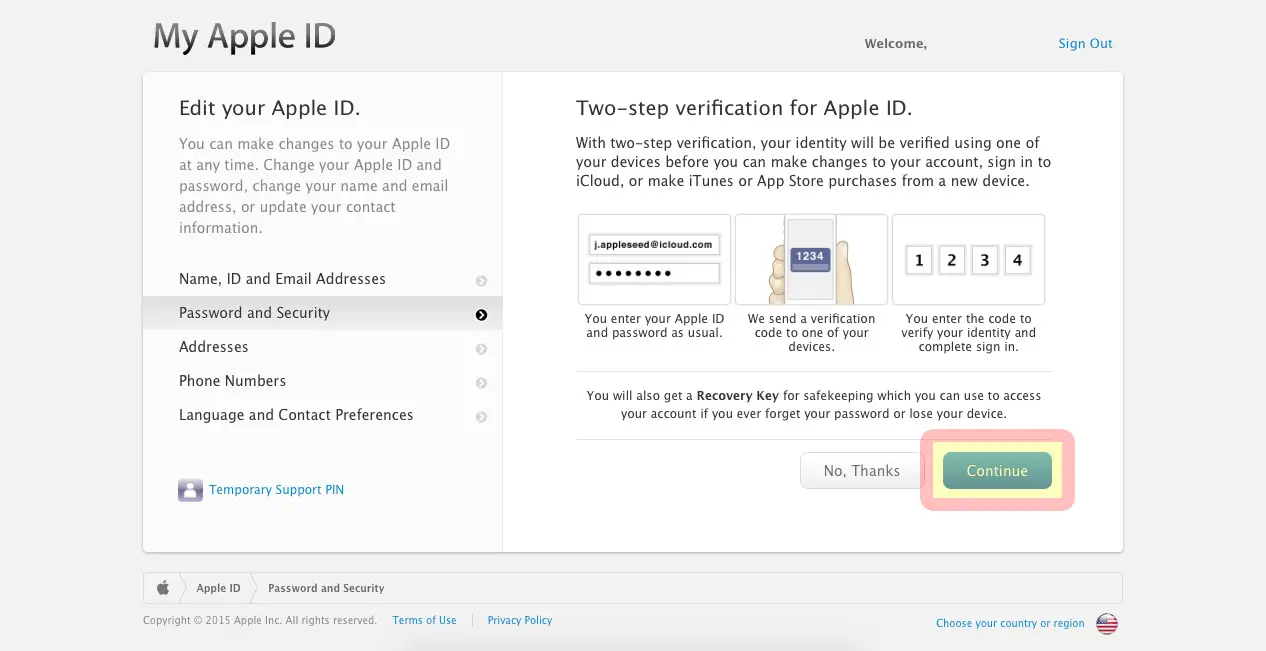
Step – 6: More important information to read and consider, click Continue when ready.
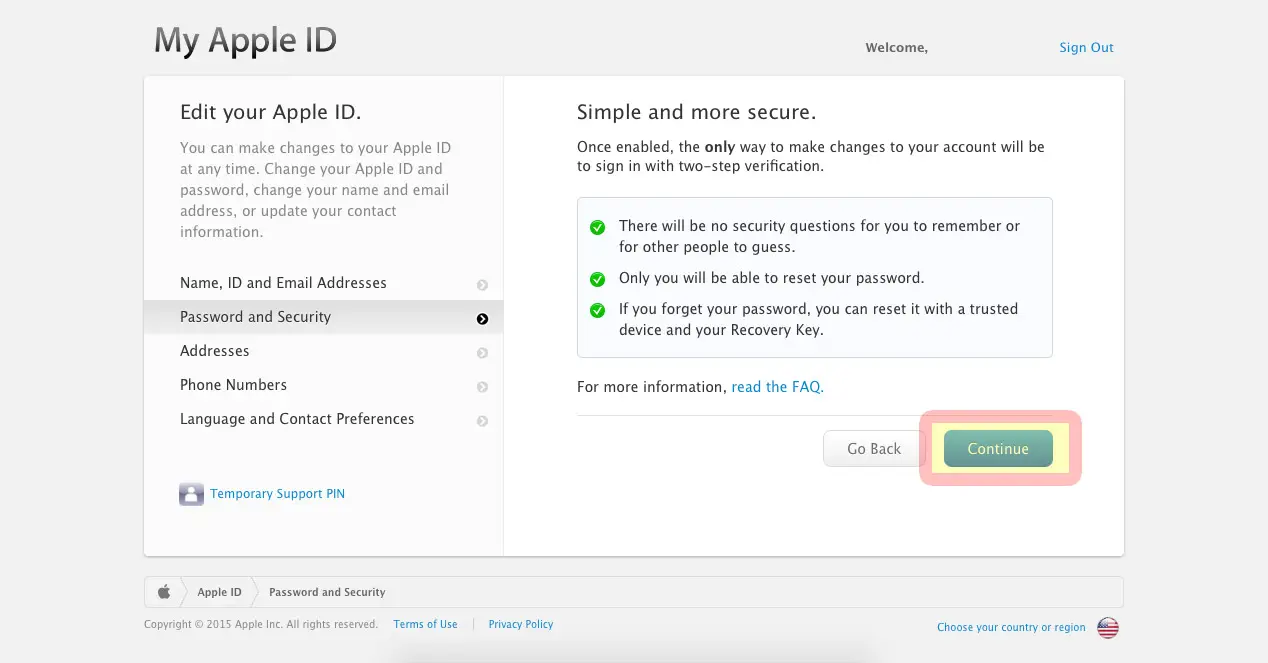
Step – 7: Final warning and important considerations, click “Get Started” when ready.
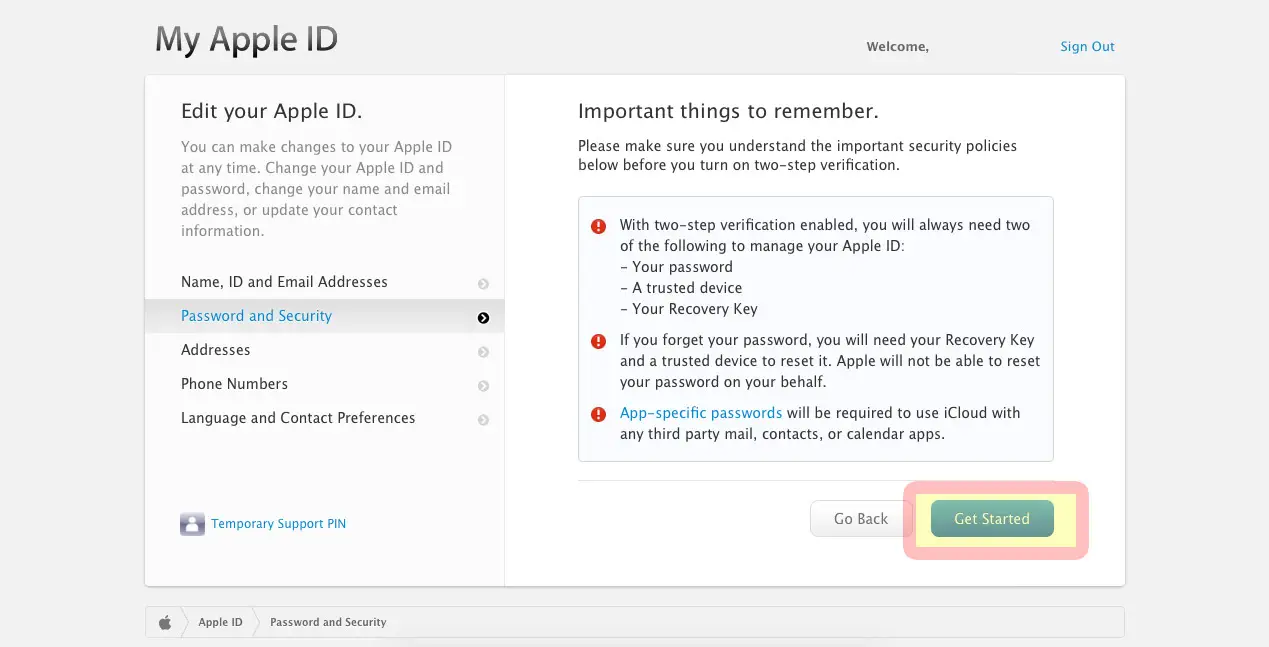
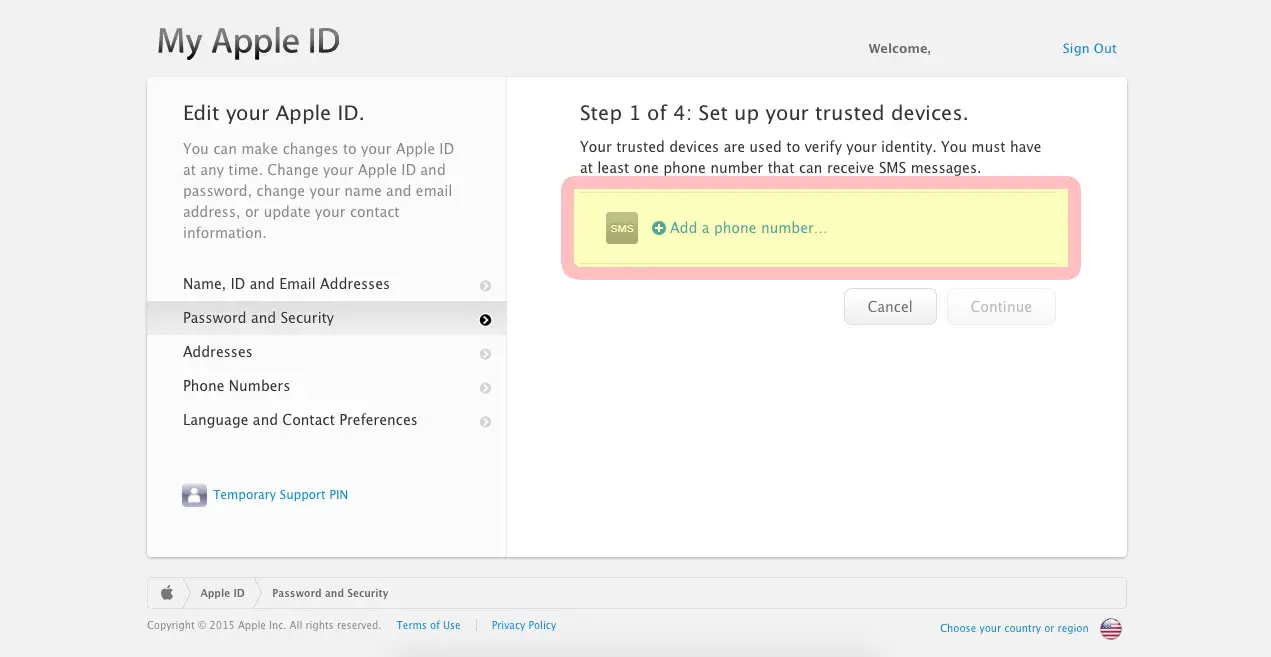
Step – 8: Click “Add a phone number…”.
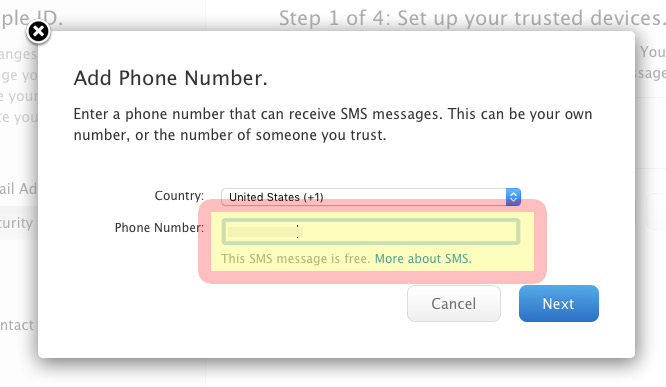
Step – 9: Add your iPhone number in the box provided and click “Next”.
Step – 10: A verification code will be sent to your iPhone, enter the code into the box and click “Verify”.
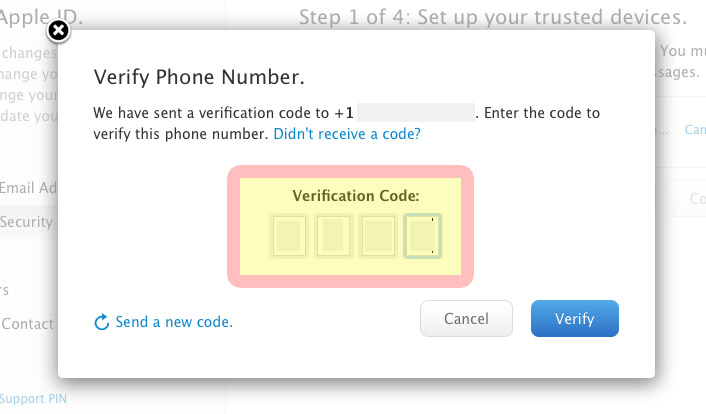
Step – 11: Add more phones if you wish (ex: spouse or child’s phone). Click “Continue” when done adding devices.
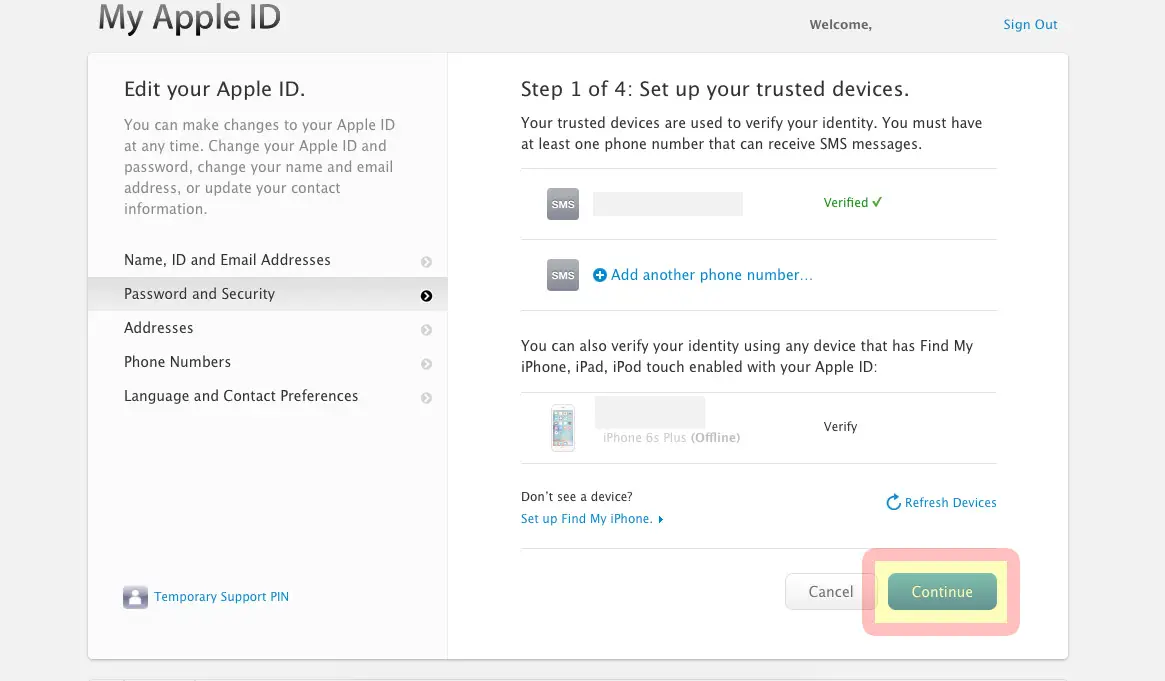
Step – 12: Your recovery key will be assigned to you at this point, PRINT the key and keep in a safe place. Do not lose this or save it to your computer. Click “Continue”.
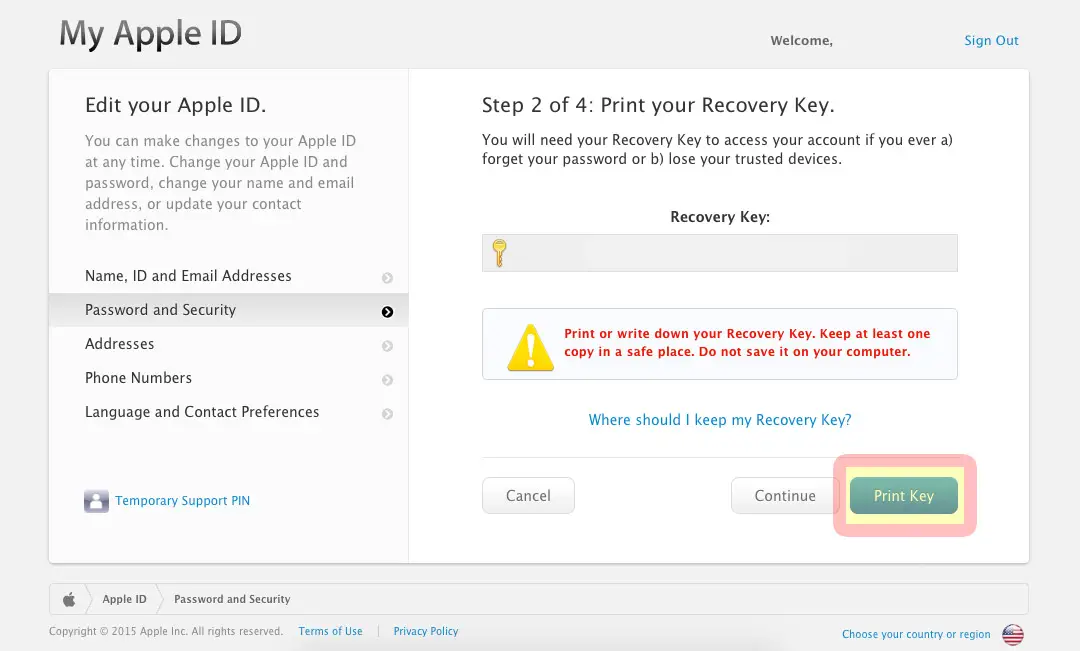
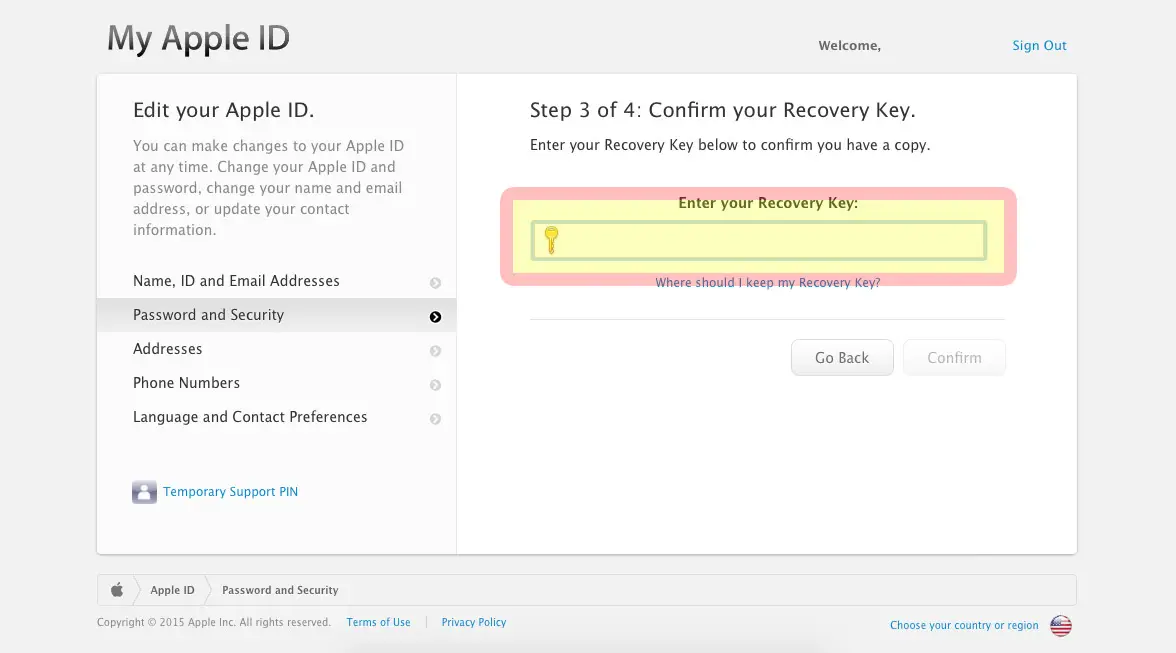
Step – 13: Once you have written down the key Apple will ask you to verify it so they know you have a correct copy, “Confirm” this.
Step – 14: Click the “I understand the conditions above” box after you have read the conditions once again.
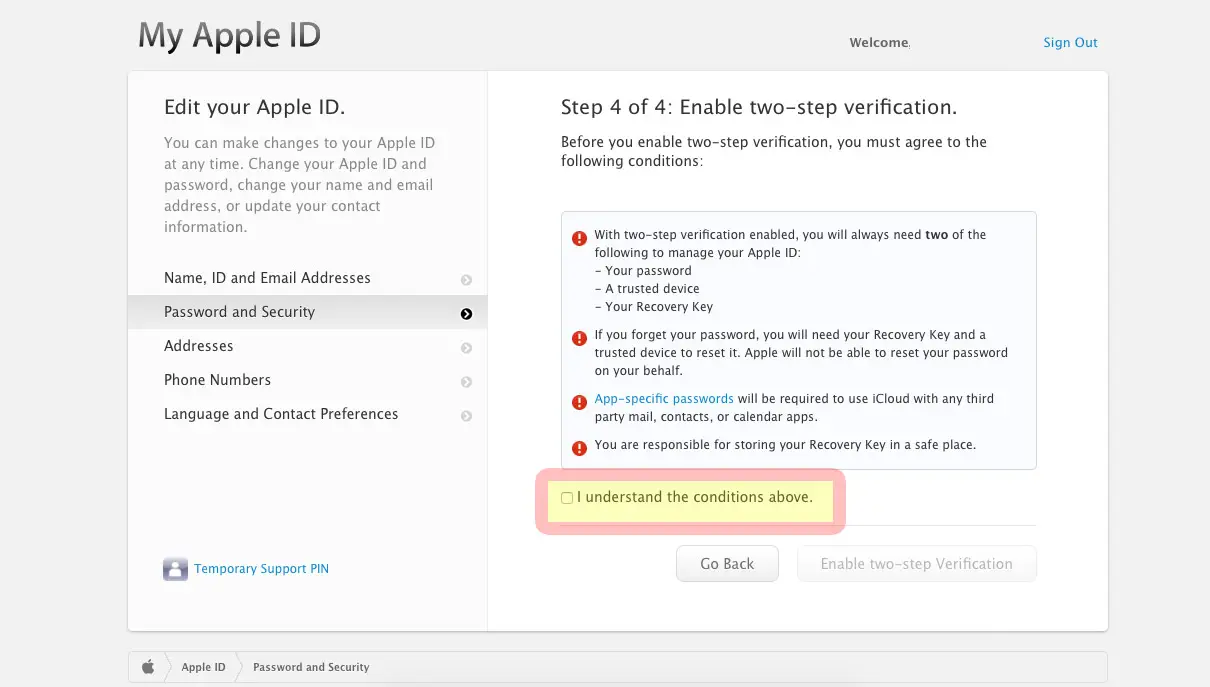
Step – 15: Click “Enable two-step Verification” if you’re ready to activate the service and you’re sure you have your recovery key written down.
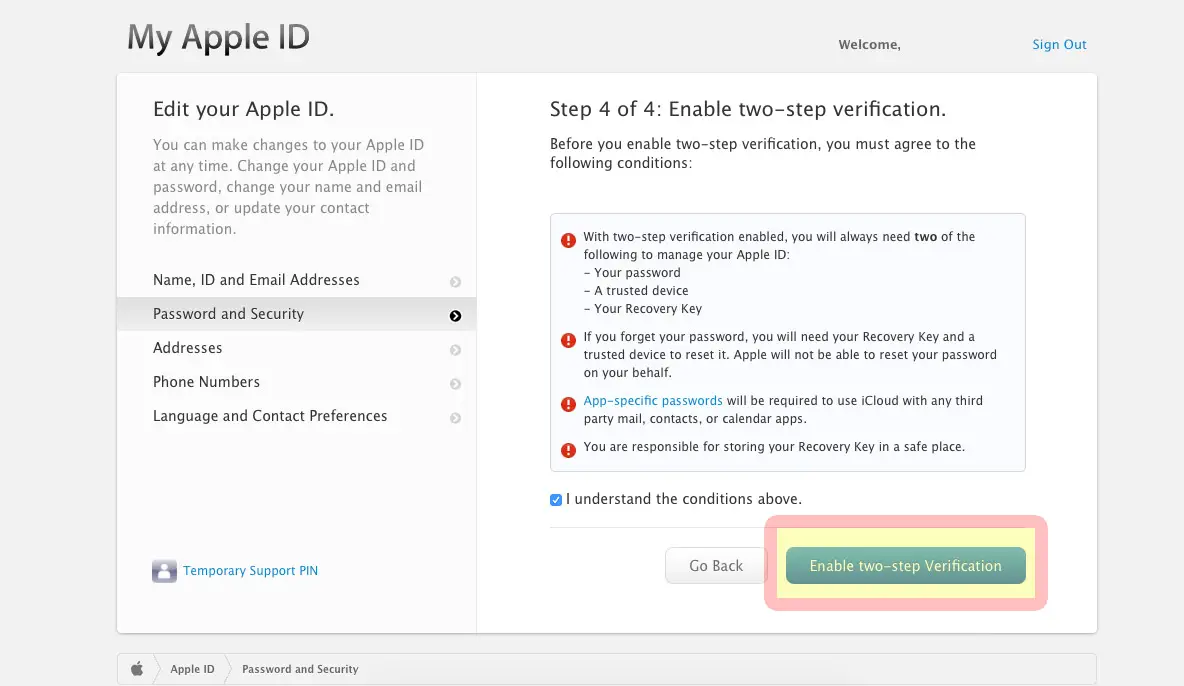
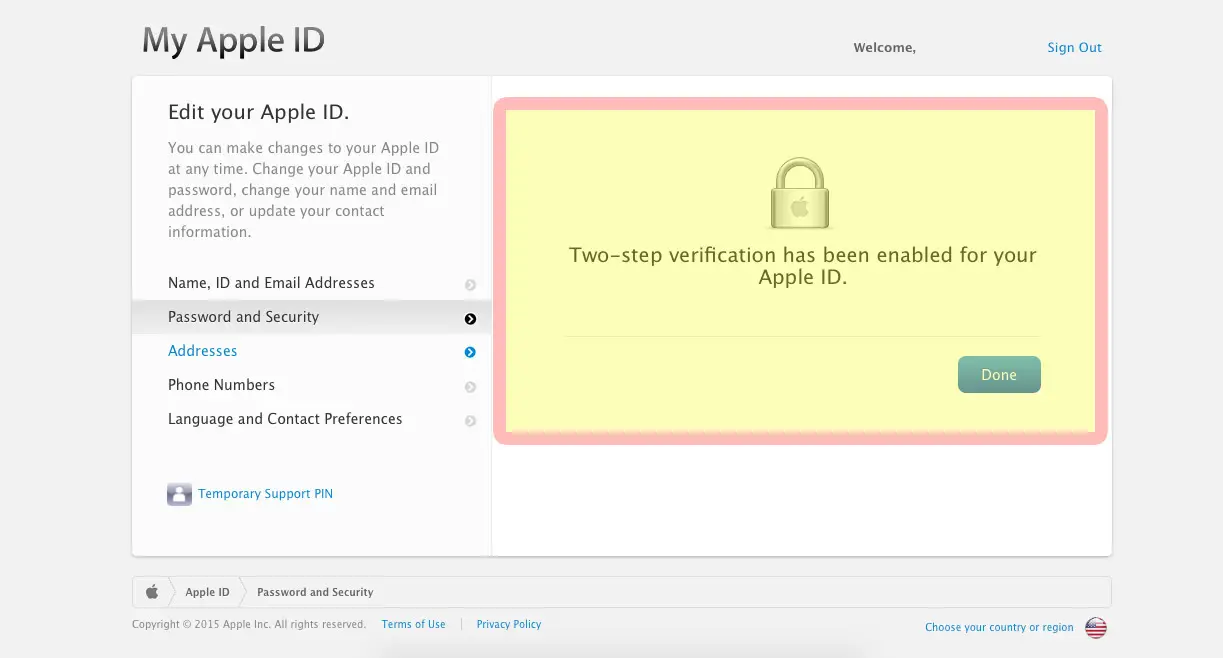
Step – 16: Success! The setup process is done and you should be all ready to go!
Setting up two-step verification is an important security measure that will help protect your Apple ID from being stolen or used by the wrong person. Sometimes it can be a hassle to have to deal with verification codes and the like but if you don’t have this enabled and something happened, you would regret not having it on. Jennifer Lawrence likely regrets it.
Stay tuned for our next HOW TO…HOW TO: Setup Two-Step Authentication For Your Google Account.
Last Updated on November 27, 2018.

