Asurion tech expert Bree Bengle offers the following advice for a seamless iOS update in September.
Update your iPhone to the latest version of iOS now
Update your iPhone to the latest version of iOS now, before the iOS 11 update is released. Being on an outdated version of iOS could prevent your phone from finding, downloading, and installing the iOS 11 update successfully. As of 8/4/2017, the most recent version of iOS available is iOS 10.3.3
- To Update via Wi-Fi: Connect your phone to its charging cable and a Wi-Fi network. Then go to Settings, tap General, then tap Software Update, then tap Download and Install.
Get iTunes
We recommend everyone use iTunes to back up their phones and install iOS 11. Updating over Wi-Fi can lead to extremely slow download times, and every year we see dozens and dozens of complaints that customers’ devices have entered Recovery Mode. The best way to avoid a Recovery Mode error is to use iTunes for the update to iOS 11.
In the event that you do update over Wi-Fi and your phone enters Recovery Mode, the only way to resolve this error is by connecting the phone to iTunes.
- To Update via iTunes: Plug your phone into a computer and iTunes (if installed) should automatically open. Tap the Device Icon in iTunes, then tap Check for Update.
- To Resolve Recovery Mode Error: Connect the phone to a computer with iTunes. iTunes should open and prompt options to Update or Restore. Try selecting Update first, to see if the phone can finish updating without a problem; if you get an error code after selecting Update, select Restore instead (this will restore your phone to factory settings)
https://youtu.be/YWixgIFo4FY
Back up your iPhone
Backing up your iPhone regularly is generally a good idea, but it’s necessary that you back up your device before performing a major OS update. If a critical error occurs while your phone is updating, your phone may need to be reset and your data could be lost. If it’s been a long time since your last back up (or if you’ve never backed up your phone before), be prepared for lengthy backup times. Backing up your phone frequently will lead to shorter backup times.
- There are two methods to backing up your phone:
- Via iTunes: Plug your phone into a computer and iTunes (if installed) should automatically open. Tap the Device icon in iTunes, then tap Back Up Now.
- Via iCloud: Tap Settings on the iPhone, then tap your Apple ID. Tap iCloud, then tap iCloud Backup. Tap Backup now to begin the backup process.
Make space on your iPhone
If you have to update over Wi-Fi, iOS 11 will likely need a significant amount of space on your phone. To prepare for this now, start migrating all of your photos and videos to a computer or a Cloud app, then delete the photos/videos from your phone. Music and 3rd Party Apps can also be uninstalled to free up some space (if you uninstall Music, make sure you have it in iCloud or your iTunes library so you can re-download it later).
- To Uninstall an App: Press and hold on an application until all of the apps begin to shake, then tap the X icon on the app you want to delete; then tap Delete to confirm
- To Move Photos from your iPhone to your Computer: Connect your iPhone to a computer using the charging cable; open the File Explorer on the computer and open the iPhone drive (it will be the name of your iPhone); open Internal Storage and you’ll be able to access the photos on your iPhone (including screenshots). These can be copied from this folder to any other folder on the computer or a connected drive.
- Remove Downloaded Music: Open Settings, tap Music, tap Downloaded Music, tap Edit. To remove all downloaded music, tap the minus sign next to All Songs, then tap Delete. To remove individual artists, tap the minus sign next to the Artist’s name, then tap Delete. Songs purchased from iTunes or downloaded from Apple Music will still be available to re-download from the cloud.
Be prepared to relearn some features
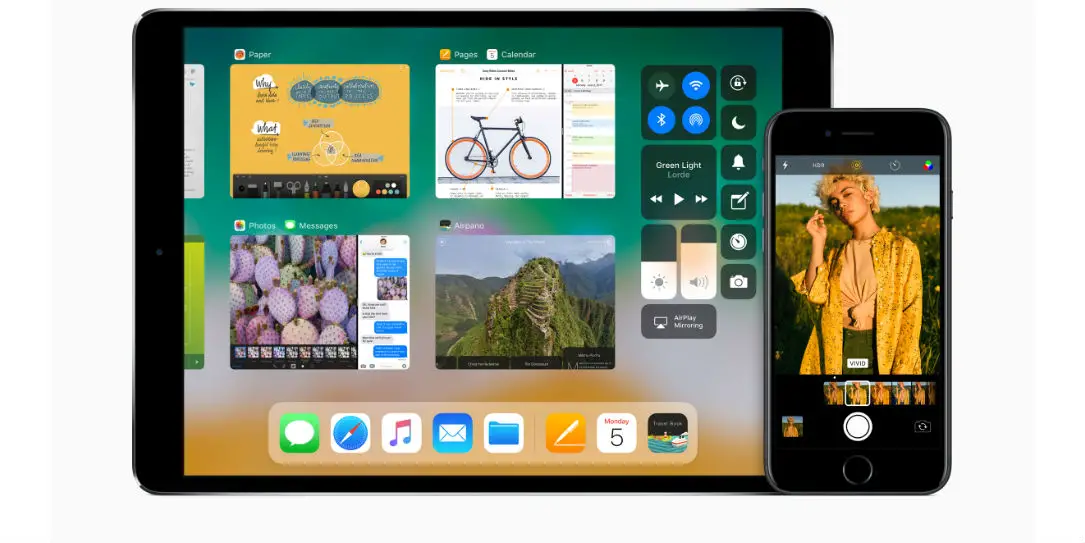
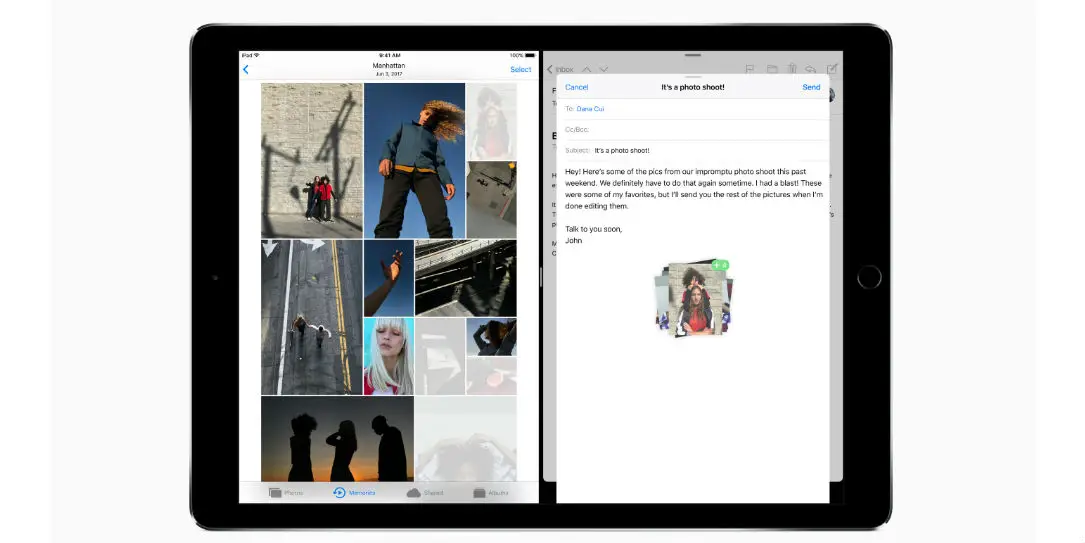
We know that there are some big redesigns coming to the App Store, Command Center, and the iCloud drive in iOS 11. Some of these changes and other new features will take time to get used to, and they could interrupt your workflow. While we always recommend updating to the most recent version of iOS for security and stabilization purposes, it’s best not to update your phone right away if you’re relying on being able to navigate your phone quickly for high priority projects. Set aside some time to install the update and familiarize yourself with the changes. Just don’t wait too long, or your phone could be left vulnerable to security exploits
New Features to the iOS 11 Update May Confuse Users
Asurion Tech Experts have tested the iOS 11 beta and found three changes that iPhone users will need to get used to if they update to the iOS 11 after September 12.
The auto-brightness feature switch has been moved
It used to be located in Settings > Display & Brightness. Now we have to follow this path:
Settings > General > Accessibility > Display Accommodations
Auto-Brightness affects battery life and screen visibility. Asurion tech experts encourage users to keep this setting on whenever possible.
Wi-Fi and Bluetooth buttons in the Control Panel will no longer turn off Wi-Fi/Bluetooth when they are deselected.
Instead, these buttons disconnect your phone from the network or Bluetooth device(s) you’re currently connected to. When the Wi-Fi button is toggled off in Control Panel, auto-join of the network is turned off and the following message appears in Wi-Fi settings:
New Wi-Fi network connections have been turned off from Control Center.
When the Bluetooth button in Control Center is turned off, a button saying “Allow New Connections” will appear in the Bluetooth settings page along with this message:
New Bluetooth connections have been turned off from the Control Center.
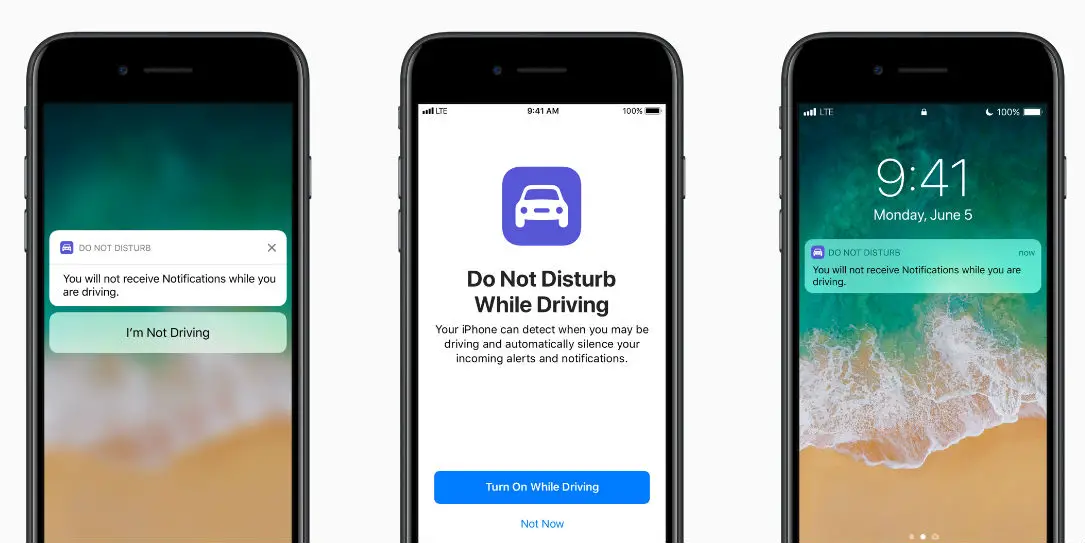
“Do Not Disturb While Driving” setting is a new feature
It’s unclear at this time what its default activate setting will be. There are three options:
- It will be automatically enabled when the phone detects a high speed of motion indicating that you’re likely in a car
- When connected to car Bluetooth
- Manually enabled if you add the function to the Control Center and select it
Depending on what the default activate setting is, the feature could be extremely inconvenient or users who want to use it may not know how to do so.
The user can change the default setting by going to:
Settings > Do Not Disturb > Do Not Disturb While Driving
From there, you can select one of the following options:
- Automatically
- When Connected to Car Bluetooth
- Manually
When DNDWD activates, you will be prompted with the message “You will not receive Notifications while you are driving.” Once activated, if you attempt to perform any action on your phone, you’ll be prompted to select either “I’m not Driving” to bypass the setting, or select “Cancel” to continue with the do not disturb function.

