Online safety and time constraints when it comes to tablet and computer use for kids is a big deal for parents. I recently had the chance to review an Android tablet and a Windows 2-in-1 aimed at kids. While the Android tablet used a proprietary Parental Control system, the Windows 2-in-1 used the Microsoft Family Settings website, something I knew existed but never really looked into. So in order to do a full proper review, I dove in and found just how easy Microsoft has made it to make it safer for your kids while online.
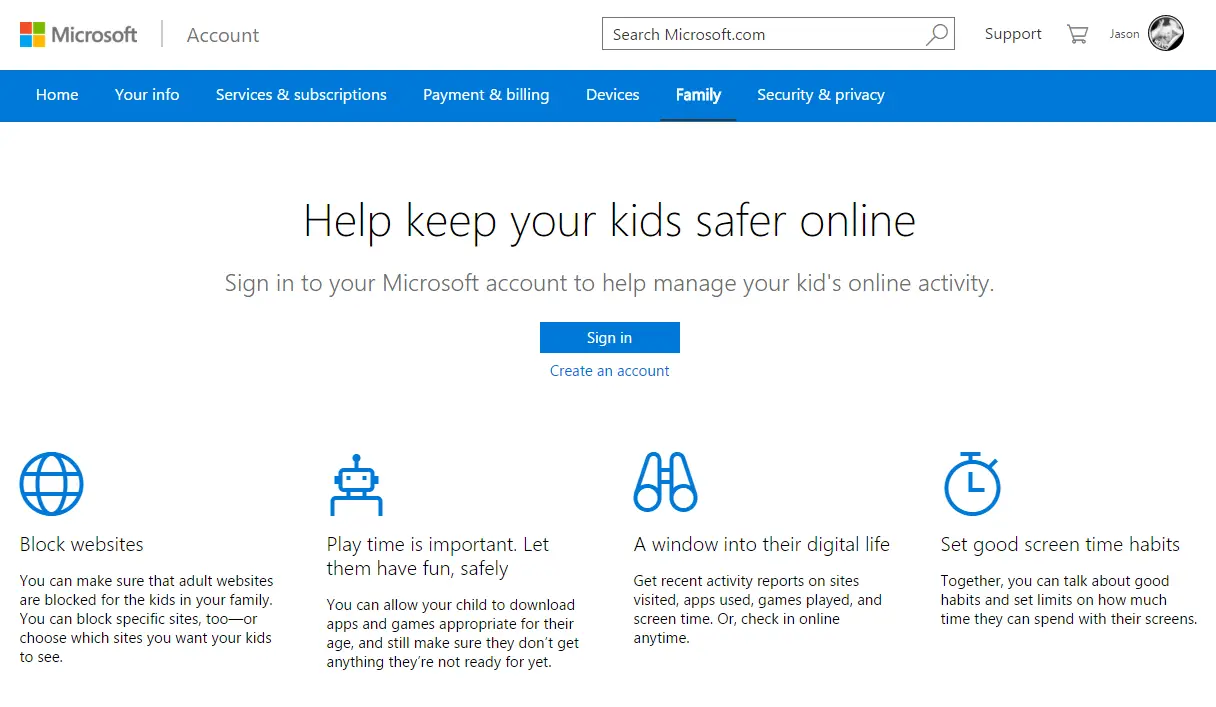
While not all aspects are available in all markets, the Microsoft Family Settings let you do the following:
- You can make sure that adult websites are blocked for the kids in your family. You can block specific sites, too—or choose which sites you want your kids to see.
- You can allow your child to download apps and games appropriate for their age, and still make sure they don’t get anything they’re not ready for yet.
- Get recent activity reports on sites visited, apps used, games played, and screen time. Or, check in online anytime.
- Together, you can talk about good habits and set limits on how much time they can spend with their screens.
Let’s take a look and see how easy it is to set up for Windows 10 devices.
Step 1: Visit the Microsoft Account website
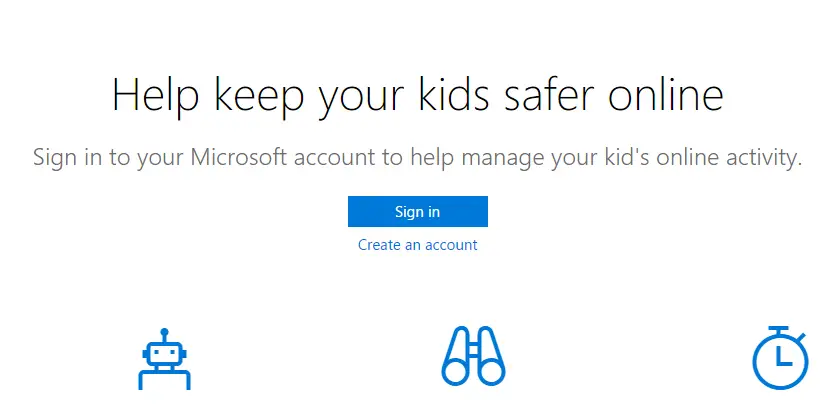
To get started, navigate on your computer to the Family section of the Microsoft Account website and sign in.
Step 2: Add Child Accounts
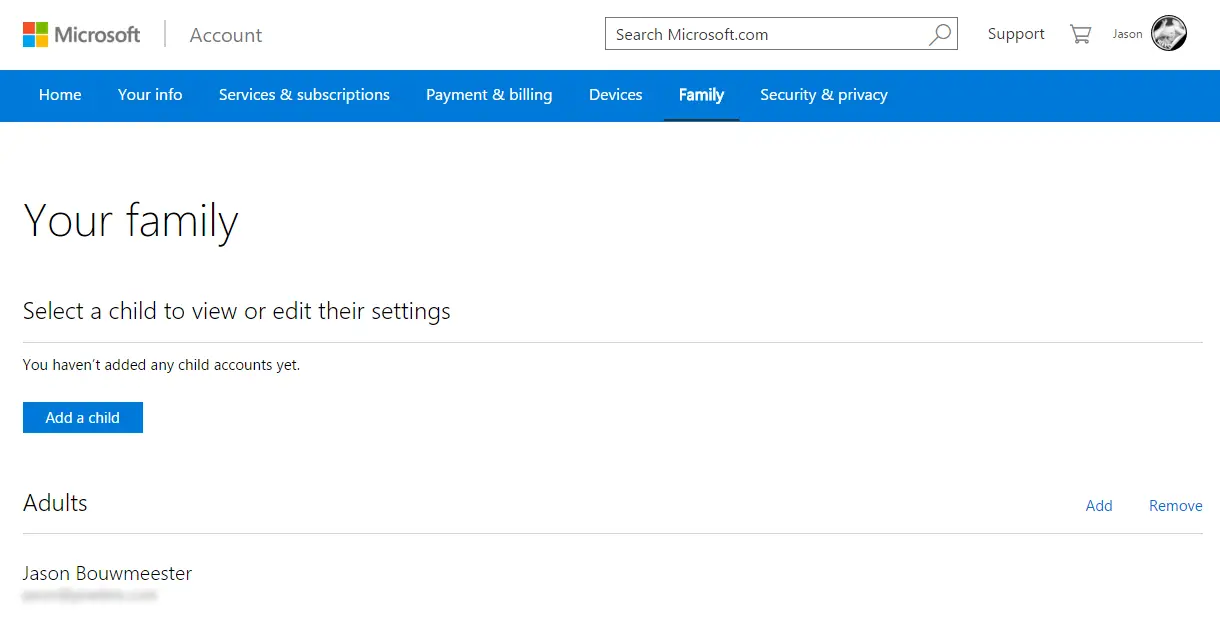
The first time you login, you should see no accounts with a button present to add a Child account.
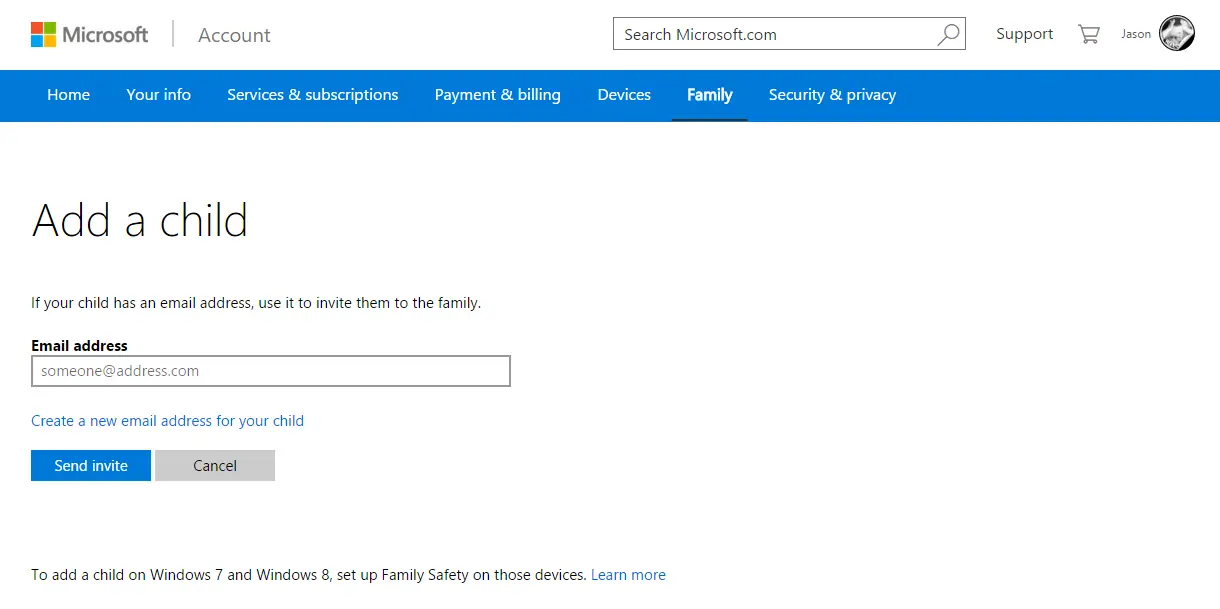
When you click on the button, you can either use an existing email address or set up a new email address for them.
Step 2a: Using an Existing Email Address
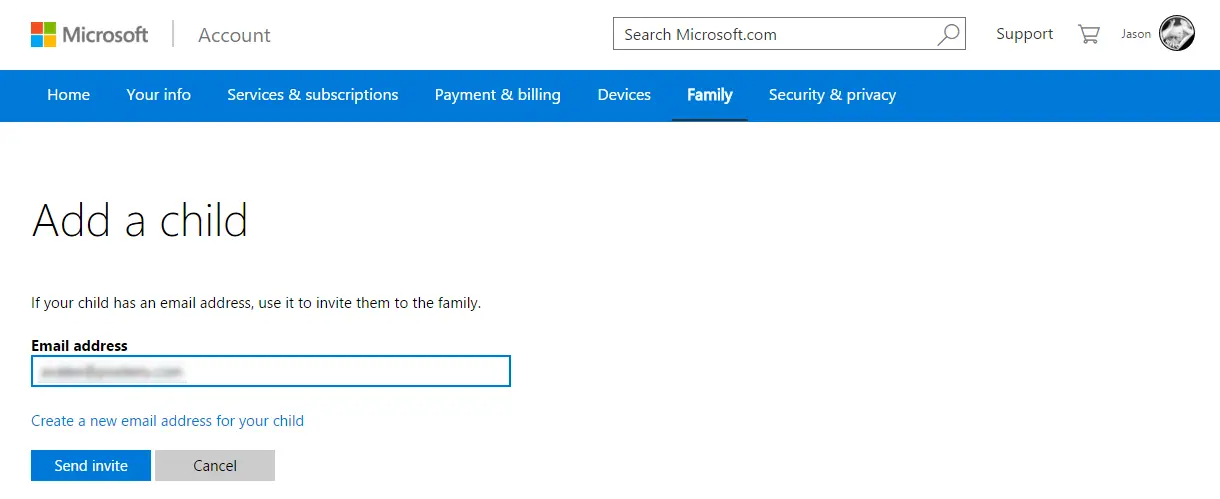
If you already have an email address, enter it in the box and then click on Send Invite.
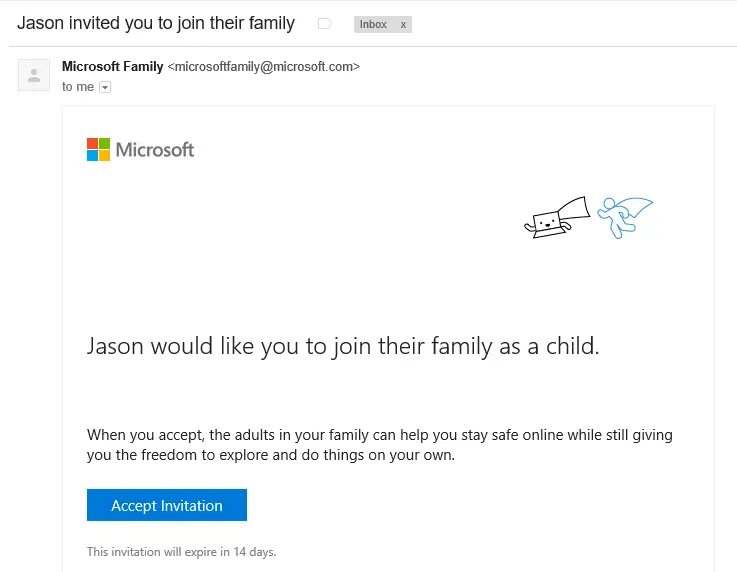
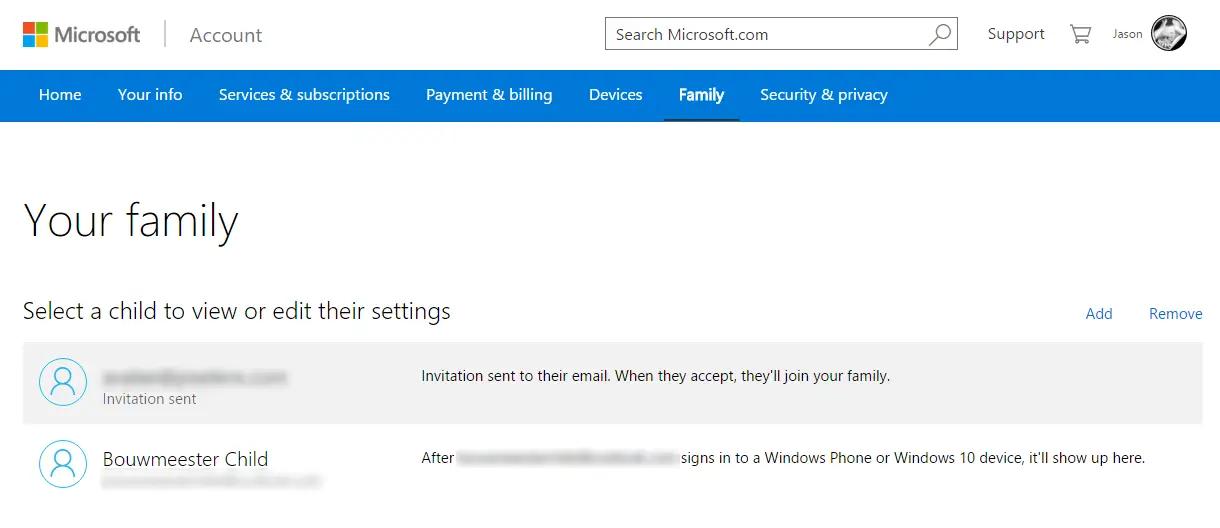
After you’ve sent the invite, you’ll need to login to the child email account and accept the invite.
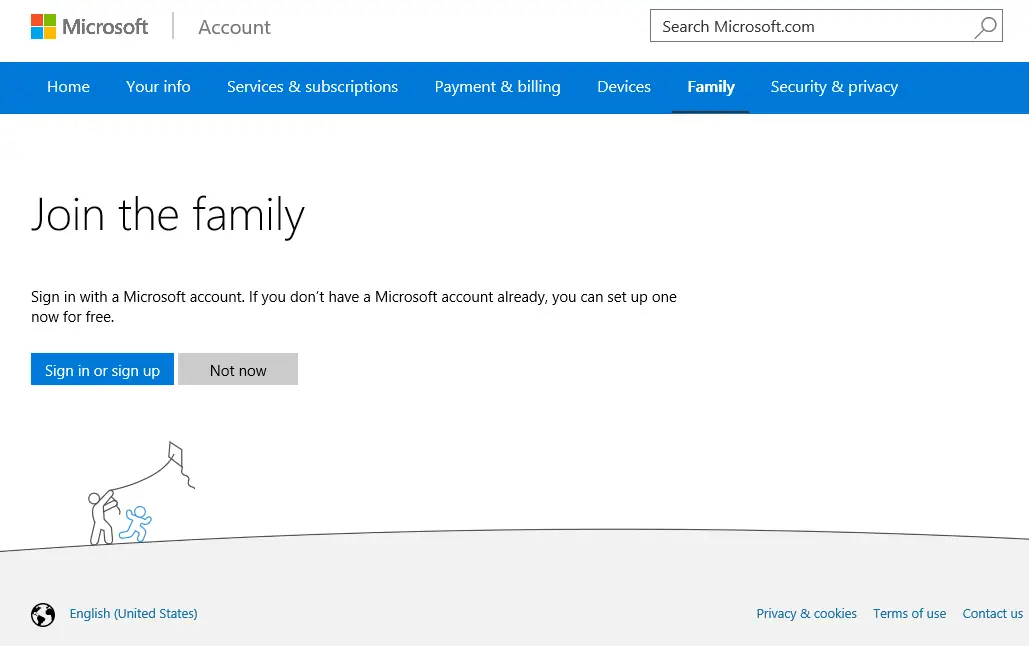
Once you accept the invite, you’ll be redirected to the Microsoft Family Account website and prompted to log in with the child account.
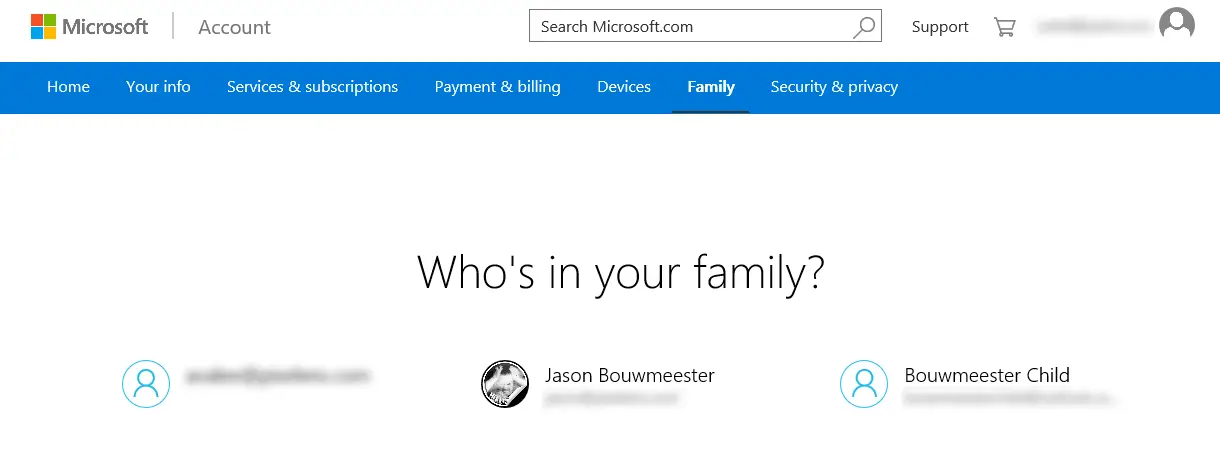
Once logged in, the child account will see who’s in their family.
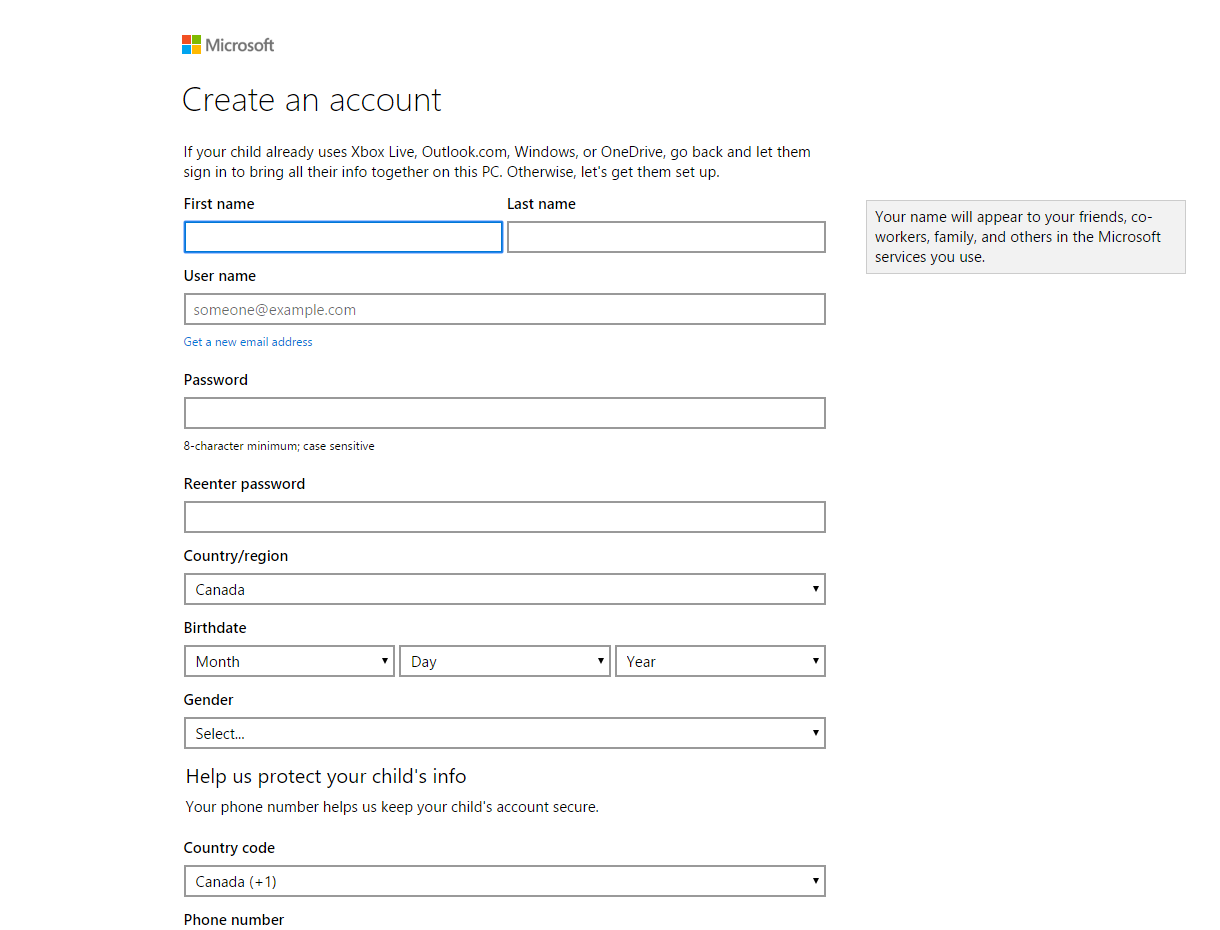
Step 2b: Setting Up New Email Address
If you choose to set up a new email address, you’ll be taken to a form and will be prompted to set up an @outlook.com or @hotmail.com email address. You’ll also need an alternate email address during the signup process. This alternate email address is where Microsoft will send password reset information in case you forget it. A code will also be sent to your mobile device to ensure you are a real person creating the account.
Once you click OK, the account will automatically be added as a child account to your list.
On your Windows device, login with the child account and they will be added to your family.
Step 3: Add Adult Accounts
An optional step, you can also add other Adult accounts who will be able to manage the child accounts.
Step 4: Adjust Child Account Settings
After the account has been added and shows up as being in the family, click on it to start adjusting your child’s access.
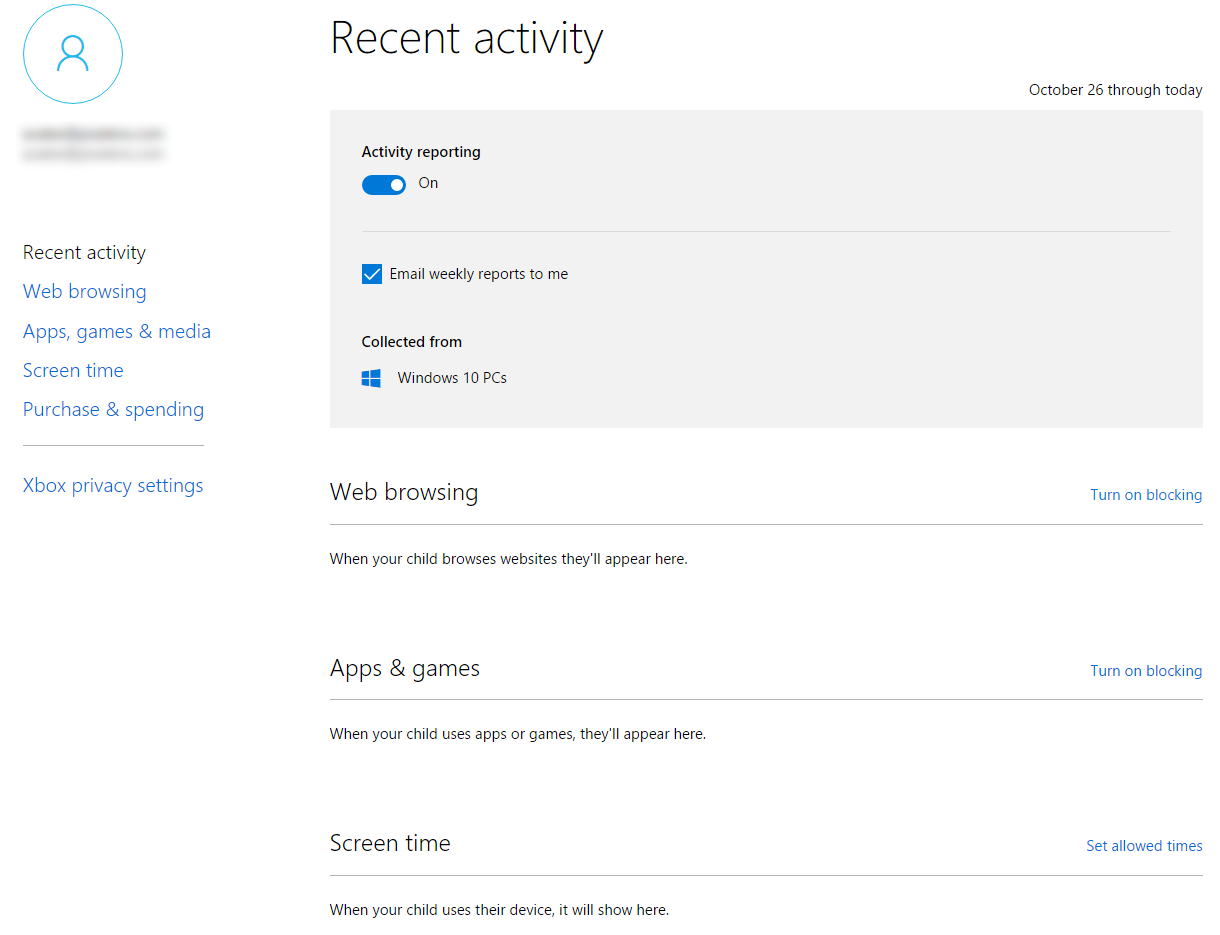
Step 4a: Activity Reporting
First, enable activity reporting if you want to track their activity. You can also choose to receive a weekly report on their activity via email.
Step 4b: Web Browsing Settings
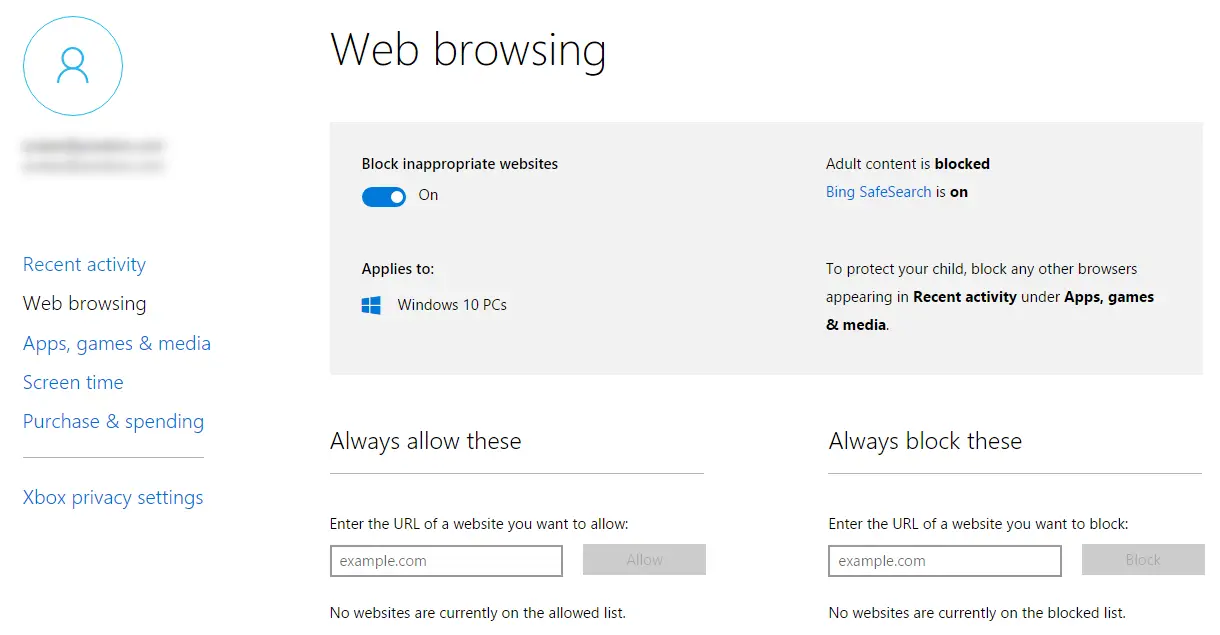
Next, you can enable web blocking. This blocks all adult content and turns on Bing Safesearch. You can also add other websites you want to block, as well as add websites that should always be accessible. When you add a site to the safe or do not access list it goes live as soon as you add it, granting instant access or instantly blocking access to it. When a child tries to go to a blocked site, they’ll get a message indicating they need parental approval to visit the site.
Step 4c: Apps, Games, & Media
Next, you can set the age restriction on apps, games, and media. Simply do so by selecting the age you wish to allow your child access to. The allowed options will change as you select different ages.
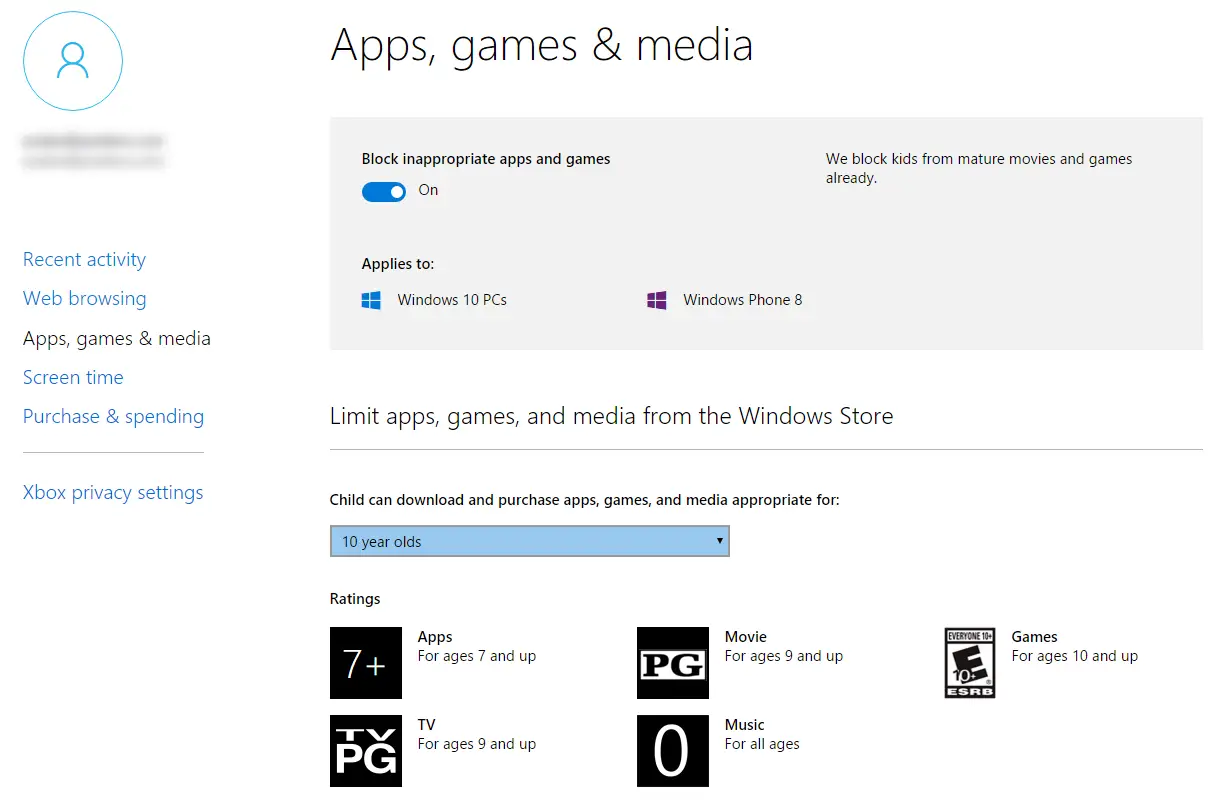
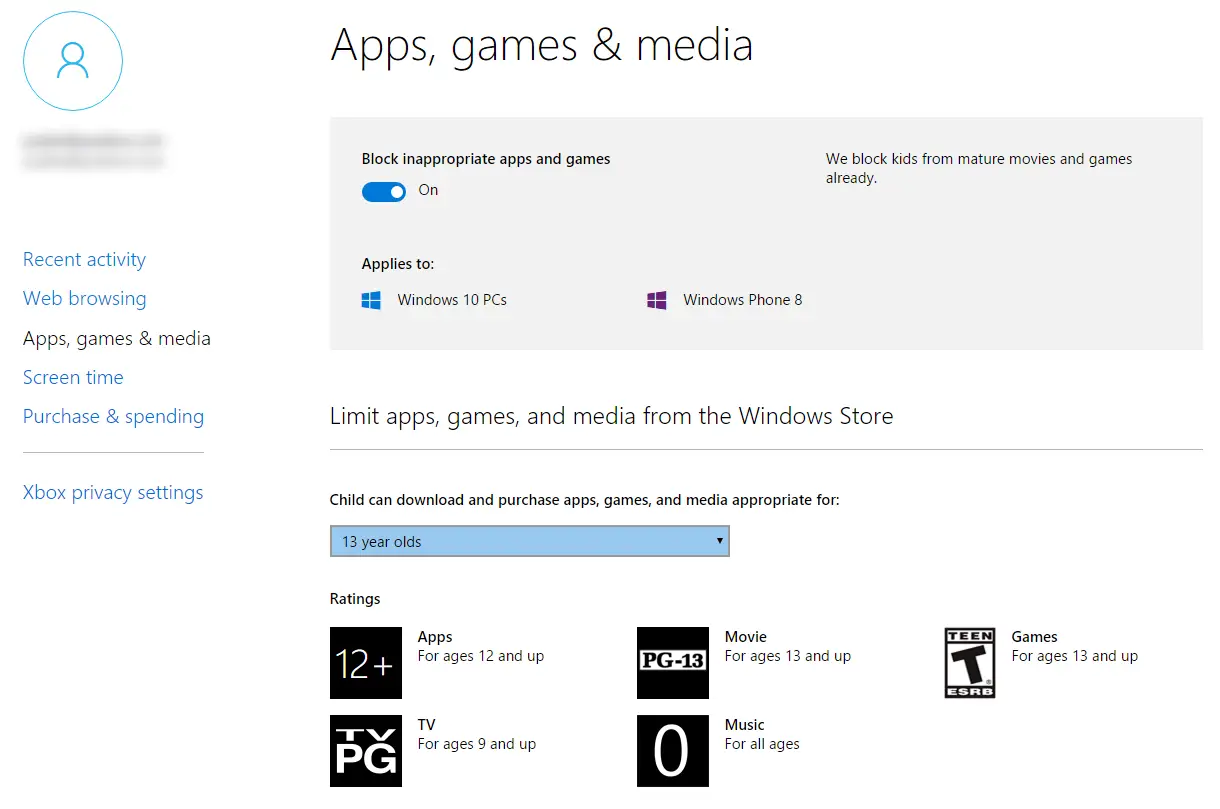
To block other games and apps, you’ll have to do so from the recent activity page.
Step 4d: Screen time
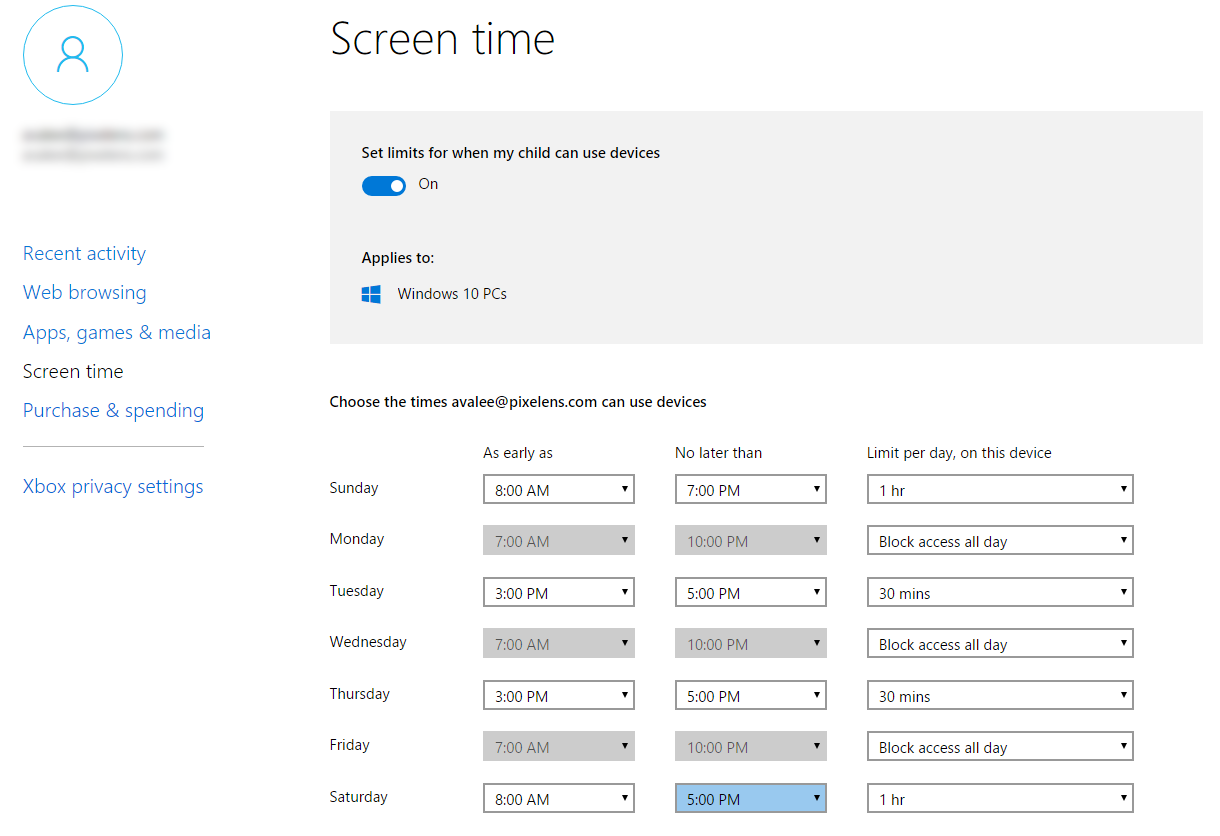
In this section, you can set how much time they get per day, block days completely, and also set the hours they can access devices. Once their time is up, they’ll get a notice saying so and it will tell them when they can return to use the device, or ask a parent for more time.
Step 4e: Purchases & Spending
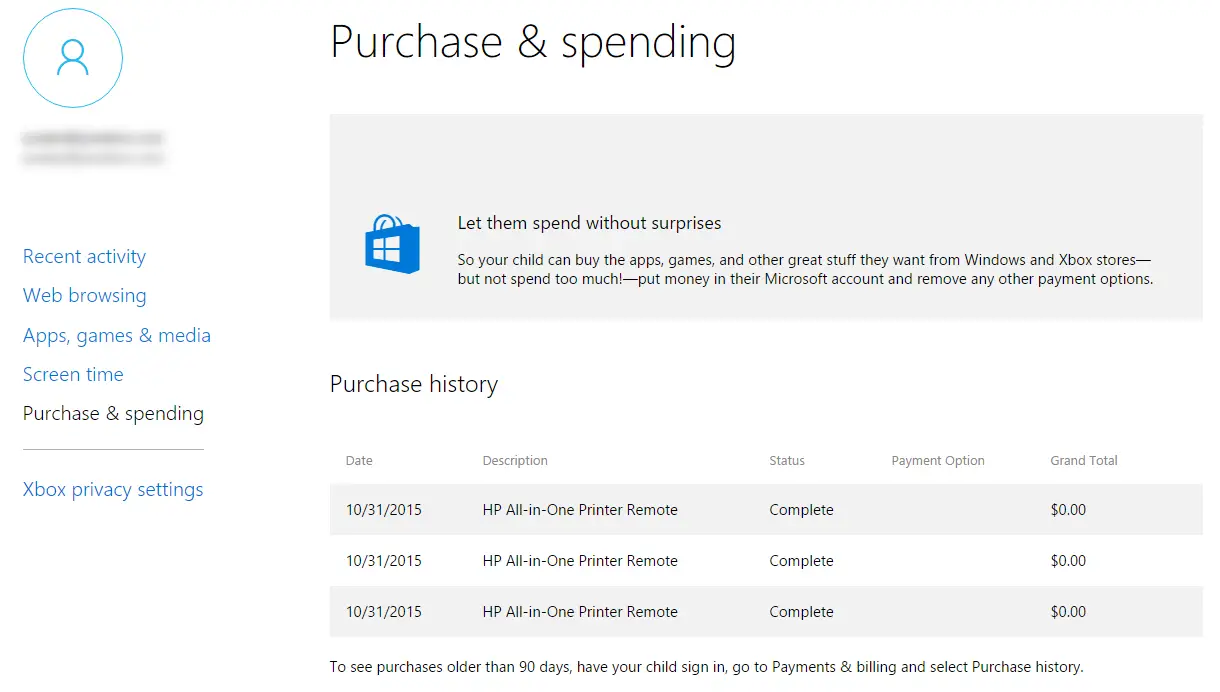
In order to allow your child to make purchases, you’ll have to add money to their account and remove other spending options. If you’ve done so, you can track their purchases on this screen.
Step 5: Give Child Account Device Access
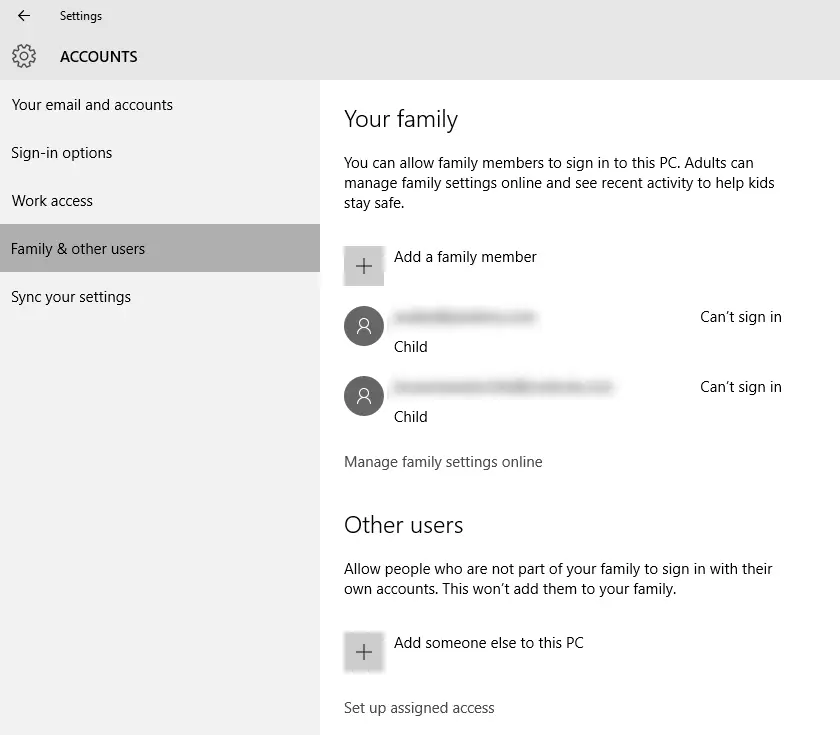
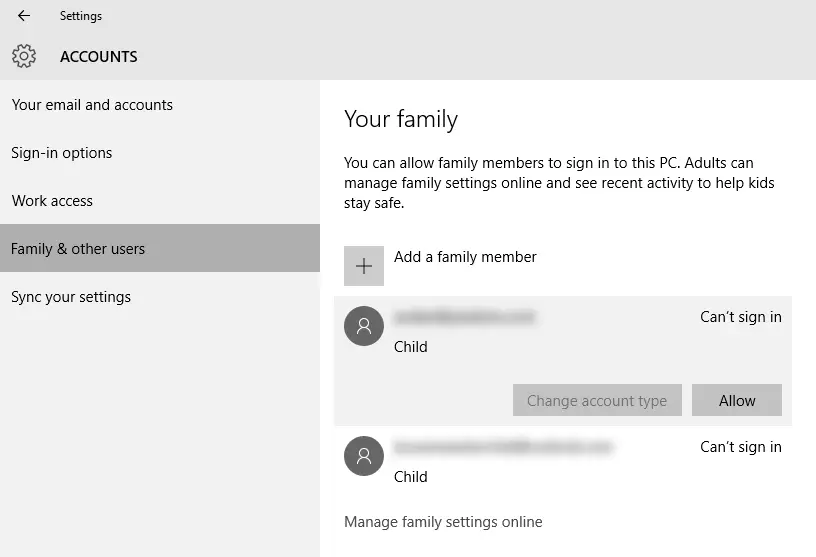
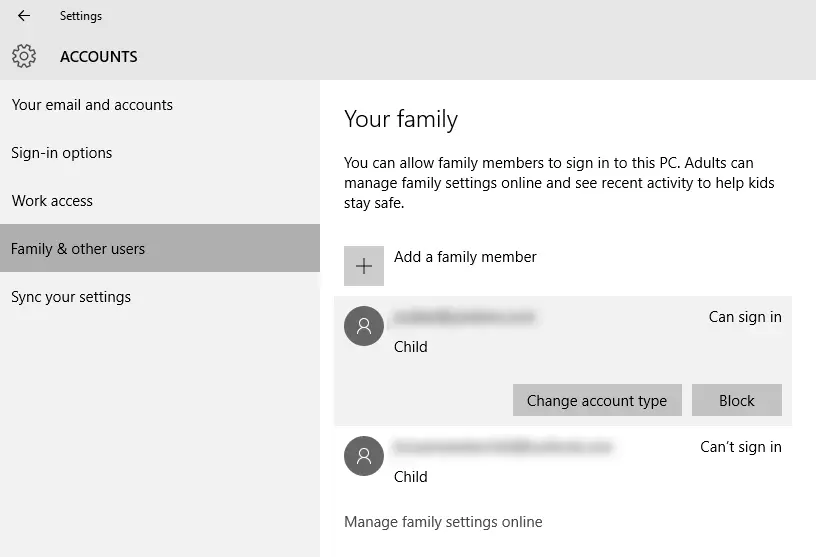
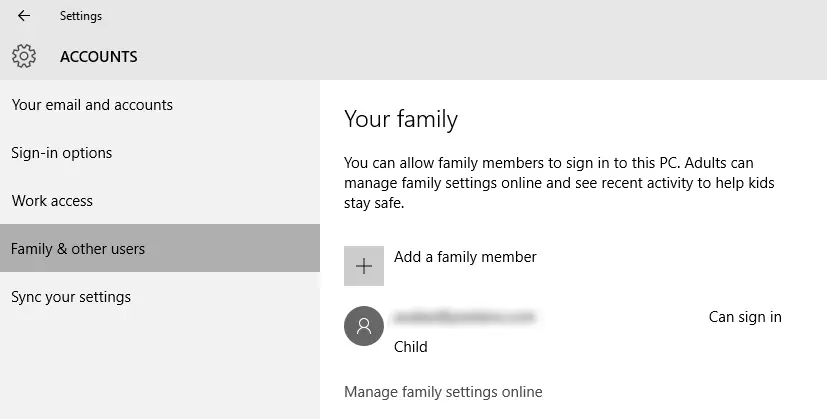
Sign into your Windows device, go to your Account Settings, select Family & other users and you should see the child accounts in your family listed there.
Select the child account you want to allow access to the device, and click allow.
After you’ve done this, your child can then log in with their account on that device. To block access to a specific device, simply select an allowed account and click on the block button.
Step 6: Delete Child Account
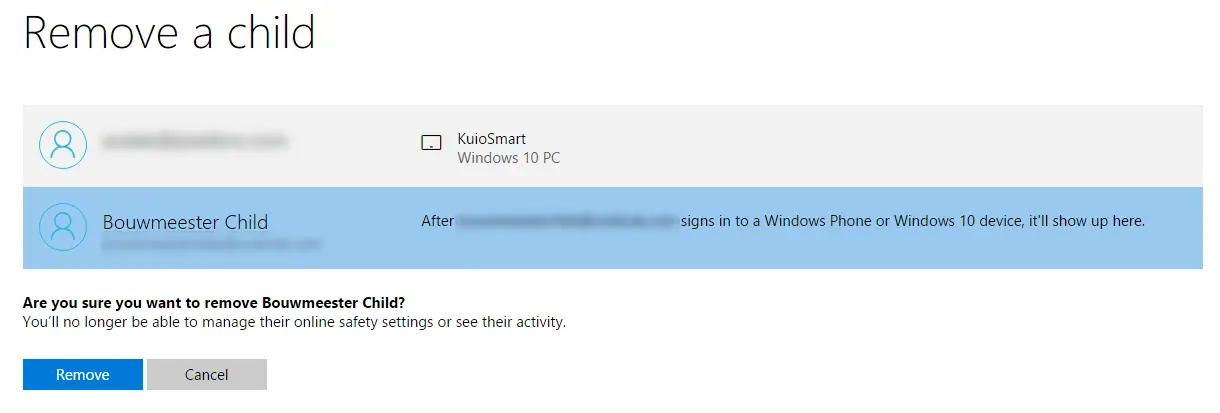
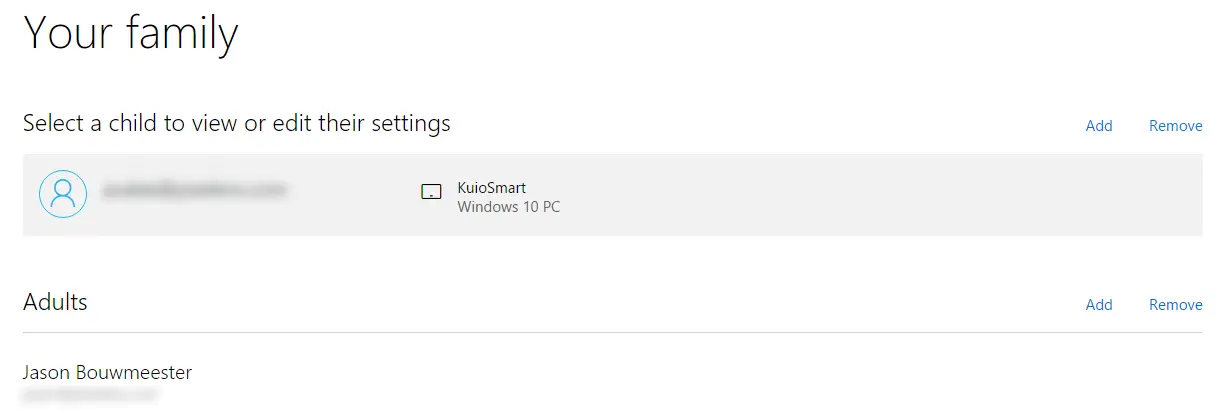
If you want to delete a child account, click on the Remove link above the Child Accounts list on the Microsoft Family Settings page.
Select the child account you want to remove and then click the Remove button.
After you click remove, the child account will be removed from the list.
You’ll also receive an email when any child accounts are added or removed to your family. Removed accounts will no longer show up on your Windows devices in your account settings.
Step 7: Activity Reporting
You can visit the Microsoft Family settings page at any time to see what your child has been up to. There is a bit of a delay between the activity and when it shows up so unfortunately you won’t see real time activity. If you’ve checked off the box for a weekly report, you’ll also receive that in your inbox each week.
And there you have it. While nothing is foolproof, from my testing the Microsoft Family Settings work pretty well once you’ve set it up to your liking.
Do you use Microsoft Family Settings to control how and when your child can access Windows devices? Let us know in the comments below, or on Google+, Twitter, or Facebook.
Last Updated on November 27, 2018.







Comments are closed.