You know that feeling when you get to the end of your storage and realize there’s nothing left? It can happen all too easily, especially if you have an Android device with less than 128GB. One day try installing some cool new game or intriguing app only to be met by an error message telling me I don’t have enough room on my device because I have too many images!
Estimated reading time: 7 minutes
As a digital marketer, you’re always looking for ways to save space on your device. And one of the best ways to do that is by compressing your images. In this blog post, we’ll show you how to do that using some of the most popular image compression tools out there. So if you’re ready to start freeing up some space on your device, keep reading!
1. What are the benefits of compressing your images
There are many benefits to compressing your images, including:
- Reduced file size: Compressing your photos can reduce their file size significantly, which can save storage space and make it quicker for them to load on websites and other digital platforms.
- Improved image quality: Compressing your images doesn’t always mean a reduction in quality – in fact, it can often improve it. This is because compression algorithms are designed to remove unnecessary data from an image while still preserving its essential features.
- Increased website speed: One of the most obvious benefits of compressing your images is that it can lead to a significant increase in website speed. This is because compressed images take up less bandwidth, meaning that more can be loaded at once without significantly impacting page load times.
- Reduced data usage: Compressing your photos can also lead to reduced data usage, which can be particularly useful for mobile users who are on capped data plans.
- Improved SEO: Finally, compressing your images can also have a positive impact on your website’s SEO. This is because compressed images are typically smaller in size, which means they can be indexed and ranked by search engines more quickly and easily.
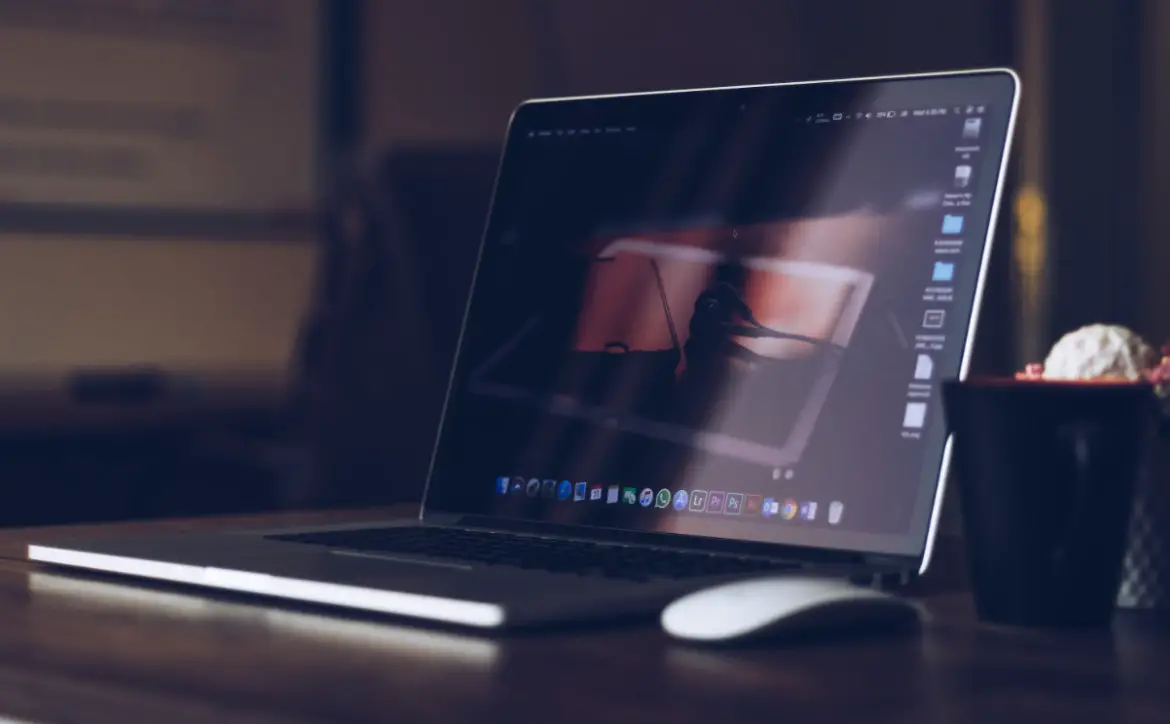
2. How to compress your images on a Mac

If you’re looking to save on storage space, one of the best things you can do is compress your photos. Compressing your images can reduce their file size by up to 80%, making them take up far less space on your hard drive.
Luckily, compressing your images is a quick and easy process on a Mac. At this point, we’ll show you how to compress photo using the built-in compression tool in macOS. We’ll also recommend a couple of third-party image compression tools that you can use if you need even more compression power.
To compress your images on a Mac, open the Finder And navigate to the images you want to compress. Then, select them andRight-click (or Control-click) on them.
In the menu that appears, select “Compress.” This will launch the image compression tool in macOS.
The compression tool will ask you which file format you want to use. We recommend using JPEG compression, as it provides the best compression ratio.
Once you’ve selected a file format, the compression tool will start compressing your images. The process may take a few minutes, so be patient.
When the process is finished, you’ll see a message telling you how many images were compressed and how much space was saved. You can also open the compressed images to see how they look.
If you need even more compression power, we recommend using one of the following third-party image compression tools:
- ImageOptim: ImageOptim is a free Mac app that can compress your images by up to 50%.
- Tiny PNG: Tiny PNG is a free online image compressor that can compress your images by up to 80%.
3. How to compress your images on a PC

There are a few ways to compress your images on a PC. One way is to use the built-in compression tool in Windows. Another way is to use an image compressor software program.
To compress your images using the Windows tool, follow these steps:
1. Open up the folder that contains the images you want to compress.
2. Select the images you want to compress.
3. Right-click on the selected images and select “Compress pictures.”
4. A dialog box will appear with several compression options. Select the level of compression you want and click “OK.”
The compressed images will be saved in a new folder, labeled “Compressed Pictures.”
If you want to compress your images using a software program, there are many options available. Some popular image compression programs are Adobe Photoshop, Watermarkly, Corel PaintShop Pro, and IrfanView.
4. How to compress your images on an iPhone

When you take a picture with your iPhone, it automatically saves the image in its original size. However, this can take up a lot of storage space on your phone, especially if you have a lot of pictures. You can compress your images on your iPhone to save space and make them easier to share.
To compress your images onan iPhone, open the Photos app and select the album that contains the images you want to compress. Tap Select in the top right corner, then tap the images you want to compress.
In the bottom left corner of the screen, tap Compress. The images will be compressed and saved in a new album called Compressed.
If you later want to uncompress the images, open the Photos app and select the Compressed album. Tap Select in the top right corner, then tap the images you want to uncompress. In the bottom left corner of the screen, tap Uncompress. The images will be uncompressed and saved in a new album called Originals.
You can also compress videos on your iPhone. To do this, open the Photos app and select the album that contains the videos you want to compress. Tap Select in the top right corner, then tap the videos you want to compress. In the bottom left corner of the screen, tap Compress. The videos will be compressed and saved in a new album called Compressed Videos.
If you later want to uncompress the videos, open the Photos app and select the Compressed Videos album. Tap Select in the top right corner, then tap the videos you want to uncompress. In the bottom left corner of the screen, tap Uncompress. The videos will be uncompressed and saved in a new album called Originals.
Compressing your images and videos on your iPhone can help you save storage space and make them easier to share.
5. How to compress your images on an Android phone

When you take photos on your Android phone, they can take up a lot of space on your device. This is especially true if you have a high-resolution camera. If you want to save space on your phone, you can compress your images. This will reduce the size of the file without sacrificing quality.
There are several ways to compress your images on an Android phone. One of the easiest ways is to use a photo compression app. These apps can reduce the size of your photos by up to 90%. Alternatively, you can use your phone’s built-in image compression feature. This method will reduce the size of your photos by up to 50%.
Whichever method you choose, compressing files will take up less space on your device and will load faster. So, if you’re running low on storage space, be sure to compress your images!
How do you go about compressing files on your device? Please share your thoughts on any of the social media pages listed below. You can also comment on our MeWe page by joining the MeWe social network.