The 15″ MacBook Pro Retina display mid 2012 is probably one of the most amazing laptops I have had the pleasure of owning. This MBP is one of the lightest and thinest laptops I’ve used and the display is amazing. The build is also nothing short of awesome and I’ve always loved the Apple unibody aluminum construction. It really is a pleasure to look at both functionally and visually, but why not kick the visual look up a notch? How on earth can you kick up the visual look up on such a beautiful machine? Toast real wood covers is how.
Overview
Toast is a Portland, Oregon based company that makes real wood skins for a variety of devices including.
- Apple iPhone 5/5s
- Apple iPhone 6/6 Plus
- Samsung Galaxy S4/S5
- LG G2/G3
- Moto X
- Nexus 4/5/7
- HTC One
- Chromebooks
- MacBooks
- And more….
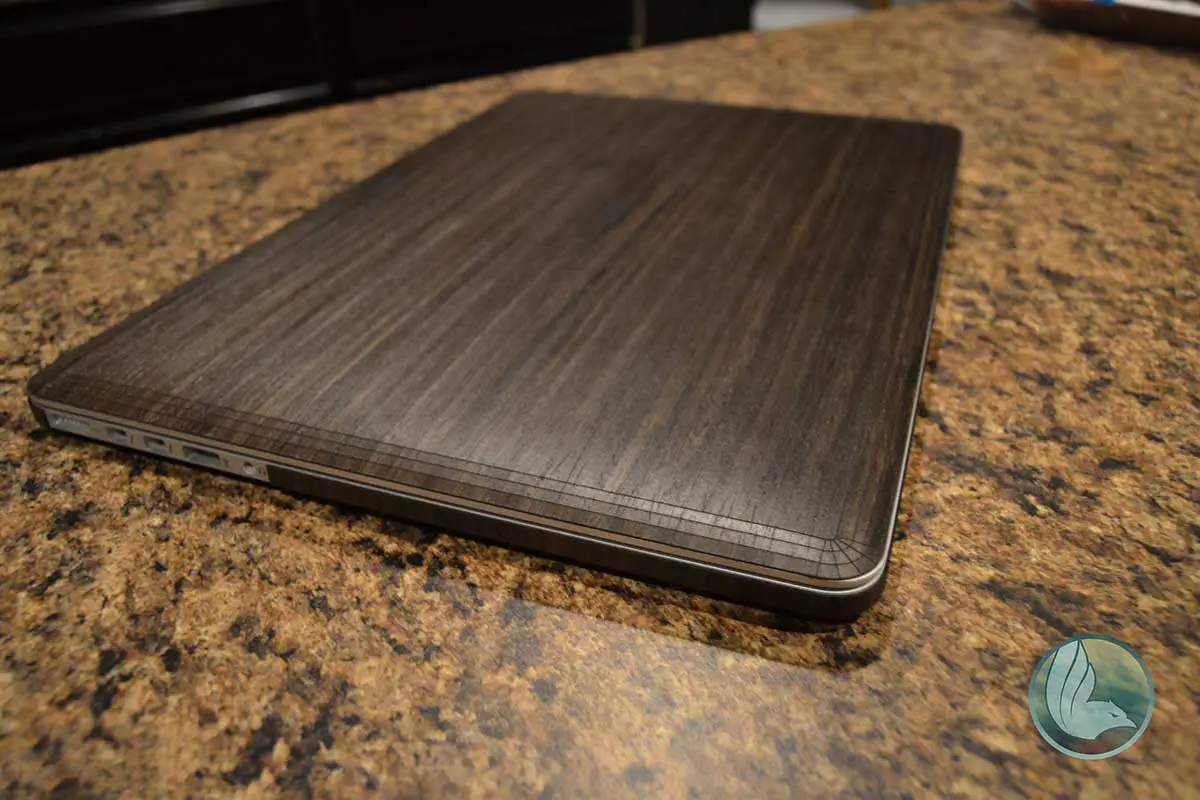
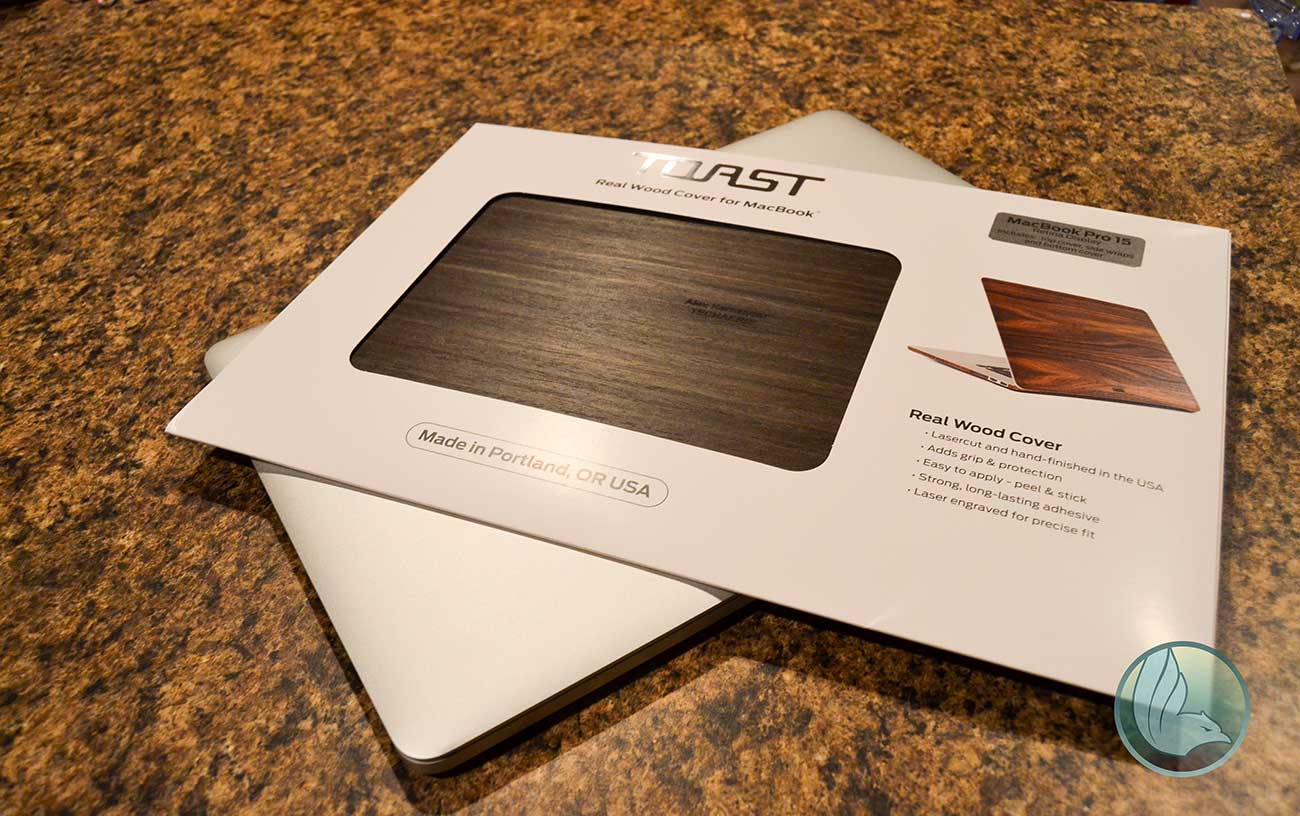
I contacted Toast because their laptop wood skins really intrigued me so I asked them if they would allow me to review the 15″ MacBook Pro Retina version in Ebony. They were more than happy to oblige and I must say, their customer service is impeccable. It wasn’t long before I received my Toast cover, custom engraved with my name and Techaeris on the front. Yes they will custom engrave most any of their covers for you, it is in the order form. It arrived packaged with ultra care and with warnings letting the parcel person know it was fragile (NO BENDING!). After freeing the product from its protective wrappings the retail packaging was simple and straight forward: nothing fancy but minimally well done, just as I like it. I opened it up and slipped all the ebony pieces out of the packaging. You can smell the real wood in this cover and it was freaking beautiful!
Toast customer service cautioned me several times to read directions throughly and follow them to the letter so that the application process would go as smooth as possible. At first I was a little intimidated – you don’t get multiple chances to apply these skins, after all – but after laying the top cover piece into place (after 3 realignments) it really wasn’t all that bad. I smoothed that out and made sure the adhesive was good and married to the MacBook Pro. I flipped the MBP over and did the same with the back side and then moved on to the sides which were surprisingly the easiest part of the install (just be careful with the adhesive getting on your fingers). Once installed I stepped back and looked at my new MBP and man, I was stunned at how beautiful this skin made the MBP look. I’ve had the Toast cover on my MBP for a few weeks now and not one person has failed to ask me about it. It is no doubt a conversation starter and it makes the already beautiful MBP Retina look even better. Before I move on I want to share a quick run through of the install process so you know what to expect.
- For the best results clean your MBP before applying the cover, I used an alcohol wipe to clean all of the aluminum surfaces
- Work on a flat surface
- Make sure the hinge side of the MBP is facing you before you begin the install
- Start with the top cover first, hinge side facing you, the top cover has a toast logo and two small alignment marks that will help you line it up with the hinge
- First test fit the cover, don’t remove any of the backings, make sure you’re lining it up correctly
- Once you’re comfortable that you have the alignment down you can peel about 1/3 of the backing off, hinge side first, then lay the covers edge to the alignment marks and hinge and carefully begin to lay the cover away from you
- Once you get the edge adhered a bit in place you can start removing the backing a little more at a time, simply pushing the cover down on the MBP as you peel the backing away. Be sure to apply pressure and work out any air for at least a minute to make sure the cover adhered properly. If you have done it right, it will be perfectly aligned, I recommend practicing a few times before any of that backing comes off.
- Remember, this cover is not meant to be removed without it being damaged. It will not damage your laptop but this is a single use cover
- Once you have the top cover on just repeat the same step for the bottom cover, this one is even easier as the hinge on the bottom is notched out on the cover so placement is a whole lot easier.
- If you ordered the side moldings apply those, they are fairly easy to apply just be careful with them sticking to your fingers, they are pretty thin.
- To remove the cover, warm the wood gently with a hair dryer to help release the adhesive and peel it off slowly. Do not overheat or use tools to pry the cover off as that could damage your laptop.
Overall Impressions
I’m a big fan of wood, especially Ebony. The Toast MBP cover impressed me the moment I opened the package. The attention to detail and the precise cut is amazing. It enhances the look of the MBP and it makes it unique. More and more people seem to be getting MBP’s and every one of them is the same, Toast gives you a bit of identity in an elegant and beautiful way. It gives the MBP a little more grip as well, the aluminum is very slippery but adding the Toast cover gave it a bit more grip. I would recommend the Toast MBP cover in a heartbeat and the starting price with side covers is just $69, for real wood that’s an awesome deal. Toast makes these covers for a bunch of different devices, head over to their website to check out all the options. I give the 15″ MacBook Pro Retina Toast cover a solid 4.5 Aeris’s out of 5. Hit the Toast logo below to see what Toast has for you.
[rwp-review id=”0″]*We were sent a demo unit of the Toast cover for the MBP 15″ Retina.
Last Updated on November 27, 2018.






Comments are closed.