The largest TV I have had the pleasure of reviewing is the Samsung QN800A which I thoroughly enjoyed. But that TV was heavy and difficult to move. So when Hisense reached out and asked if I’d take a look at the Hisense L9G Laser TV, I was intrigued. I loved my short time with the 75″ Samsung; returning to a 65″ TV was difficult. So having an opportunity to experience a 100″ screen was something I could not pass up.
Estimated reading time: 17 minutes
I have generally stayed away from projector reviews as I do not have the space usually required for one. Jason has been the primary projector reviewer but seeing that the Hisense L9G Laser TV is an ultra-short throw projector, I did some measuring and decided I could swing an ultra-short throw, barely. The space required for using the 100″ Hisense L9G Laser TV is more than you need for a 75″ TV, and my room was just at the breaking point. So here are my thoughts on the Hisense L9G Laser TV.
Table of contents
Specifications
The Hisense L9G Laser TV has the following features and specifications:
Display Specifications
- Actual Screen Size (measured diagonally): 100″
- Class: 100″ class
- Screen Weight: 34.2 lbs
- Screen Dimensions: 88.7” x 50.6” x 1.4”
- Screen Shipping Weight: 54 lbs
- Screen Package Dimensions: 93.7” x 20.3” x 5.8”
TV Type
- Smart TV: Yes, Android
- Google Assistant built-in: Yes
- Works with Alexa: Yes
- App Store: Yes (Google Play App Store)
Picture Quality
- Screen resolution: 4K
- 4K upscaling: Yes
- Refresh rate: 60 Hz
- Dynamic contrast: 1,000,000:1
- Brightness Level: 3000 Lumens (Typical for optimal brightness)
- Resolution type: 4K
- HDR-compatible: Yes, HDR10, HLG
- Color Space: 107% BT.2020
- MEMC: Yes
- Light source: Red + Green + Blue Laser
- Light Source Lifetime: 25,000+ hours
- Eye Protection (Laser Auto Turn Off when someone is close by): Yes
- Throw Ratio: 0.25:1
- Chipset: 0.47” DMD
- Viewing Angle: 150°
- ALR Type: Lenticular
Audio
- Audio output power (watts): 40W (Stereo)
- Audio technologies: Dolby Atmos, Dolby Digital
Power
- Power consumption: 320W
- Standby consumption: <0.5W
- Power supply: AC 120V, 60Hz
Connectivity
- Wireless built-in: Yes, 802.11 a/b/g/n//ac (2×2)
- Ethernet: Yes
- Bluetooth: Yes
Ports
- HDMI: 3
- Ethernet (LAN): 1
- USB: 2
- HDMI ARC: Yes
- RF antenna: 1
- Digital audio output: 1 Optical
- Earphone/audio output: 1
Additional Features
- Noise reduction: Yes
- Parental control: Yes
- Closed caption: Yes
- Sleep timer: Yes
- Warranty: 2-year warranty
- Surround Sound: Yes
Accessories
- Remote: Yes, Voice Remote
- Quick Start Guide and User Manual: Quick Start Guide in the box (User Manual available online)
- Power Cord: Yes
- UPC: 888143011950
Dimensions
- Weight (without stand): 34.2
- Laser TV Console Dimensions: 24″ x 6.1″ x 13.6″
- Laser TV Console Weight: 24.7 lbs
What’s In The Box
- Hisense L9G Laser TV
- 100″ ALR Screen and mounting accessories (including clean gloves)
- Remote
- Power cable
- Adjustment tool
- Lens cleaning kit
- Microfiber cloth
- Manuals and Documentation
Design
The Hisense L9G Laser TV is my introduction to ultra-short-throw projectors, so this is all new to me. I know that marketing calls this a laser TV, but it is a laser projector. I believe there is a general agreement that TVs are backlit glass displays while projectors throw the image onto a screen or display. Who knows, I may be wrong, and there is probably someone somewhere who will inevitably correct me. For this review, we will call the L9G, what Hisense calls it, a Laser TV.
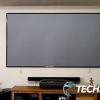
The Hisense L9G Laser TV comes with a 100″ or 120″ ALR (Ambient Light Rejecting) screen, which you must assemble. More on assembly in the next section and more on the ALR screen in the display section. There’s not much to say about its design other than the build quality is outstanding, and it looks good on the wall. It’s also significantly lighter than a 75″ TV at 55lbs, though more tedious to install.
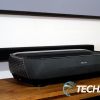
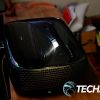
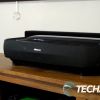
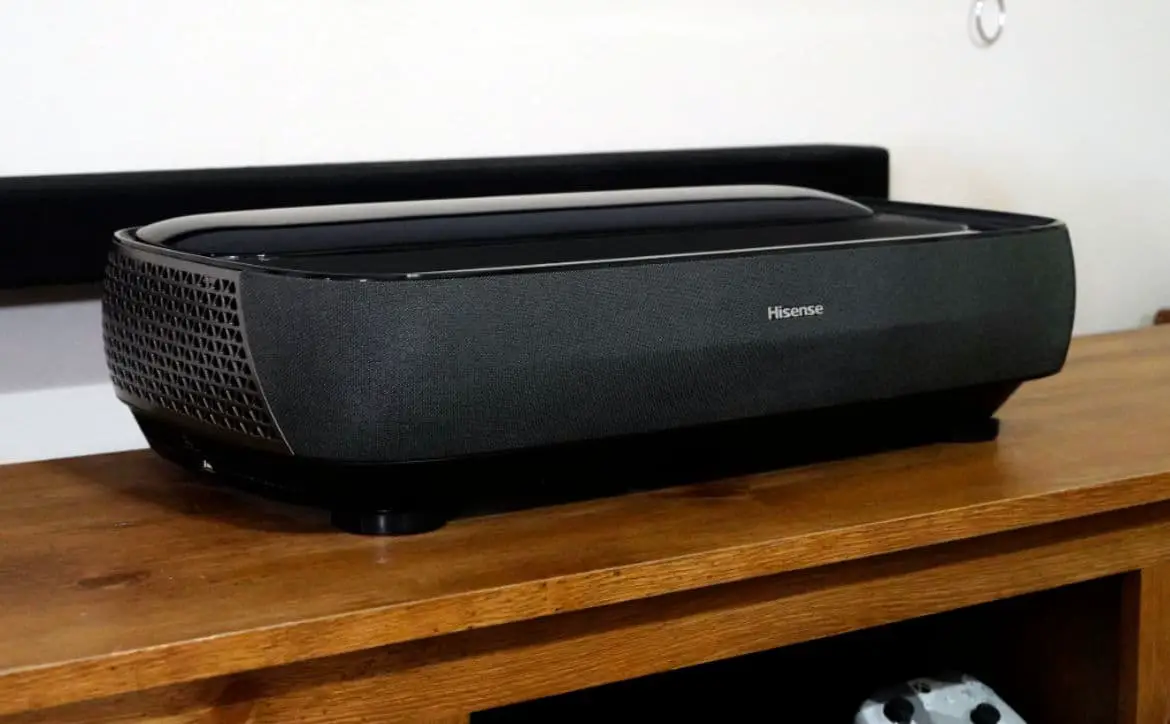
On the other hand, the Hisense L9G Laser TV central unit has some things we can discuss. I love how small the unit is relative to a large TV. The 75″ Samsung I had on my cabinet swallowed the entire room. The Hisense L9G TV moves the screen to the wall freeing up a lot of space. To be fair, you could also mount a 75″ TV to the wall and get the same feel.
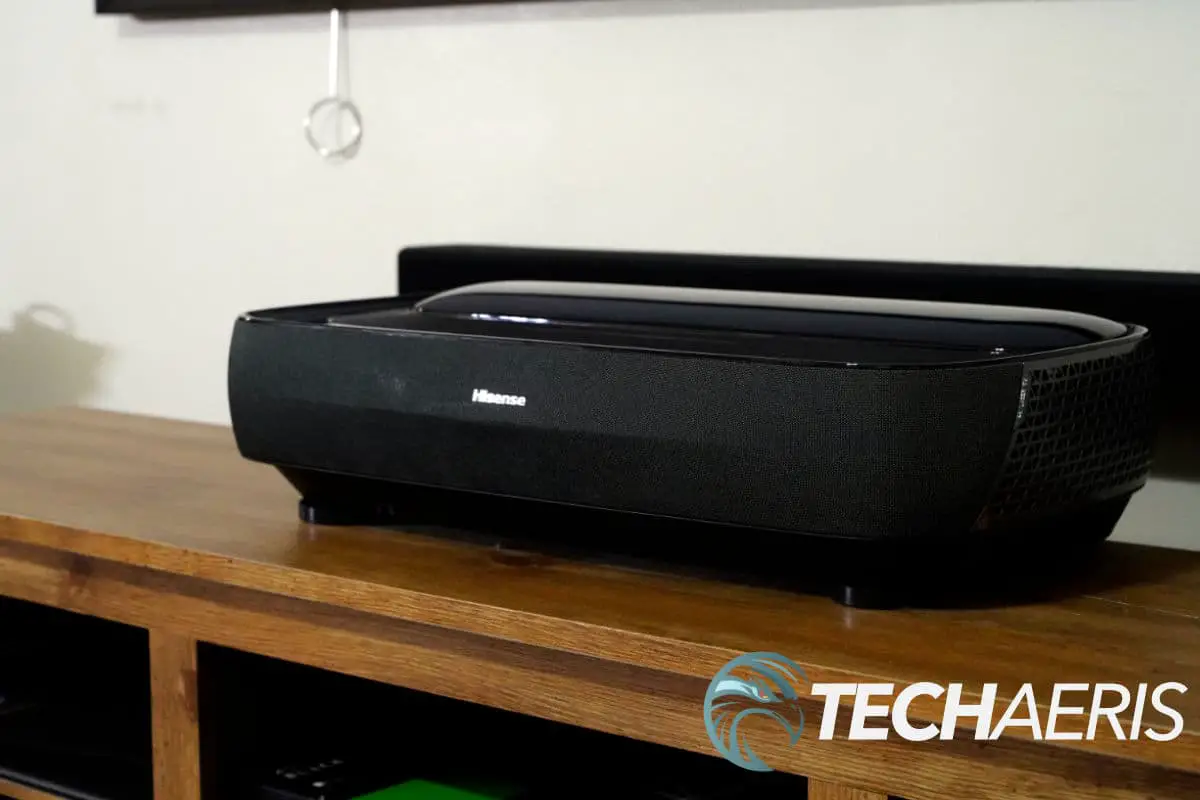
The unit is around 34lbs, so it is not heavy at all. It’s not large either, but you’ll need a stand at least 36″ wide, and my stand is significantly wider than 36″. The Hisense L9G TV comes with four adjustable feet and a wrench to adjust them. More on that in the next section.
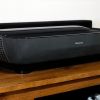
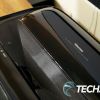
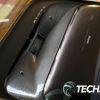
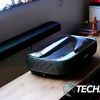
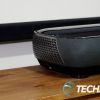
The unit is made up of several different materials, including metal, plastics, and cloth. The front has a cloth mesh covering, a Hisense logo, and an LED power light. The right side has vents for speakers and cooling. The left side also has vents, speakers, and a single USB-A port. The top of the unit houses a small piece of glass behind which the laser sits.
The back of the Hisense L9G Laser TV is where you have most things happening. Here you’ll find the following; service two port, serial port, LAN port, service one port, coax port, optical port, AUX port, HDMI 3 4K 120Hz, HDMI 2 eARC 120Hz, HDMI 1 60Hz, and USB-A port.
Overall, the design of the ALR screen is excellent; it looks nice on the wall and is not tacky. The central unit is also well-designed and looks good on the stand. The overall Hisense L9G Laser TV aesthetic is nice and clean and looks good in any decor.
Setup
In this section, I will cover the physical setup of the L9G and save the software setup for the software section.
Setting up the Hisense L9G Laser TV will take a few more steps than a traditional TV. The included 100″ ALR screen does require assembly, and if it is your first time setting an ALR screen up, it will take at least 3.5 hours, maybe more. It’s not that the setup and assembly are complicated, but due to the delicate nature of the screen and my unfamiliarity with the hardware, I took my time.
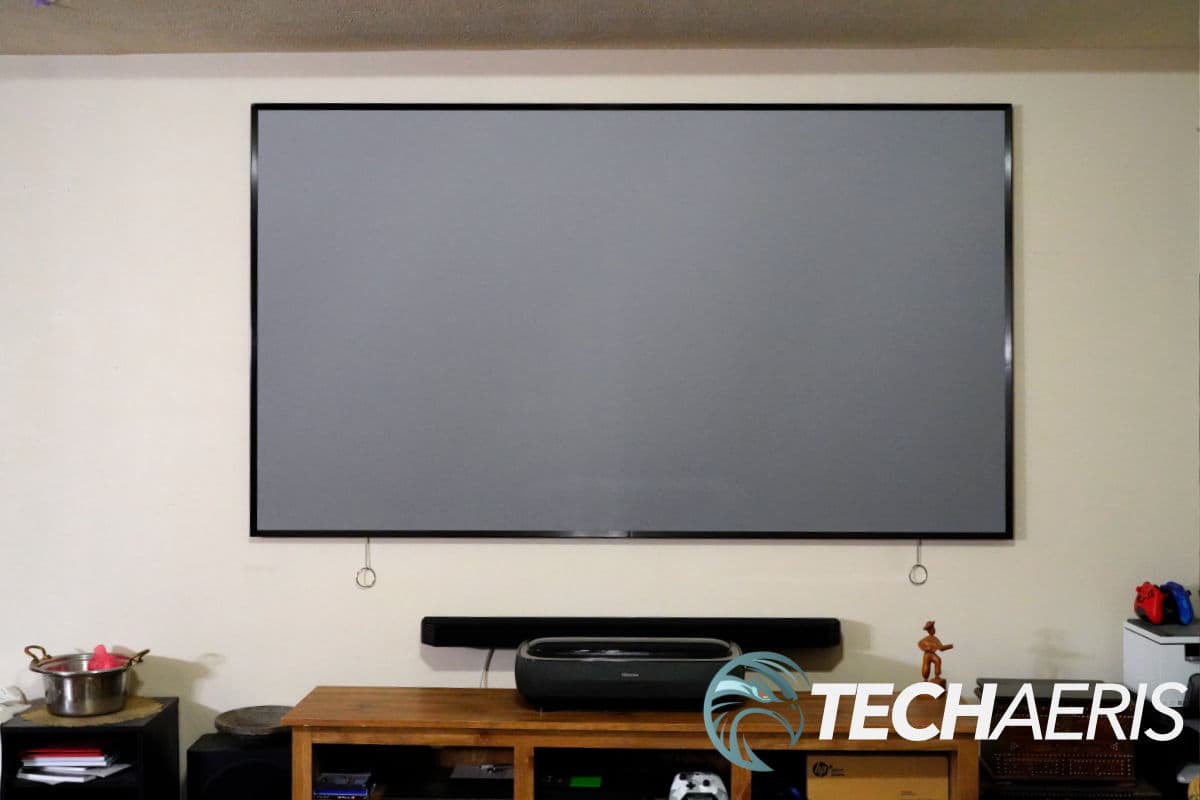
I was going to film the assembly and setup of the ALR screen, but the space in our home was very cramped and not conducive to filming something like that. I will briefly describe the setup of the ALR screen and then allow you to reference the video below so you can visualize it; thanks to Hisense for making the video.
The ALR screen is comprised of several pieces of aluminum, brackets, screws, and the screen. Putting it together is like a giant puzzle, and following directions is essential. It’s not tricky, but TWO people are recommended for this job, and I agree. I feel the most significant thing you need to take care of is the screen. Be careful not to touch it with bare hands, and take care when unrolling it from its tube.
You should also pay attention to which side goes down and which goes up; that is important. The video below demos the assembly of an older ALR screen, but Hisense does note the differences in the video between the newer screen. We have the more recent screen. The video also goes over the Laser TV setup, and we will talk about that right after the video.
Hisense L9G ALR Screen and Laser TV Video Setup
Putting together, leveling, and mounting the ALR screen is the most time-consuming and complicated part of the setup. However, it is not the most frustrating that is yet to come, setting up the Hisense L9G Laser TV central unit.
Because the L9G is a fixed focal length Laser TV designed for 100″ or 120″ screens, you must place the unit just right for the optimal picture. Hisense gives you the distances from the floor and up, from the wall and out, and how high the screen needs to be placed for the best results. So, if you watched the video, you will need to measure and set things correctly.
While the process frustrated me, it’s not a deal breaker. The Hisense L9G Laser TV isn’t the only brand that works this way. Hisense does include a geometric calibration method that heavily relies on the perfect placement of the L9G and mounting of the screen. I tried to use this several times but was unsuccessful, so I had to adjust manually.
Adjusting the image is tedious and frustrating as I had to have the TV stand just far enough from the wall, the screen just high enough from the stand, and the L9G in the right spot. If the stand is bumped, the alignment must be slightly fixed. Several times our dogs bumped the stand while playing, causing me to take time to realign the stand and projector.
Hisense L9G Quick Video Overview
Adjusting the feet of the projector is probably the most frustrating part of the process. The provided wrench is very helpful, but it takes some practice and understanding of which foot controls what to get it correct.
Overall, setting up the ALR screen will take you some time. But I love the screen’s quality and build and that it sits mostly flush against the wall. Two people are highly recommended to do this and make sure you are measuring correctly and mounting the screen into studs in your wall. Getting the Hisense L9G Laser TV central unit placed perfectly and fine-tuning the adjustments is tedious. Still, I think it will get easier after a few rounds of performing those adjustments. I’m also taking some of the blame here because I believe we may have installed the screen an inch too low due to our space limitations.
Display (ALR Screen/Picture)
The Hisense L9G Laser TV comes bundled with a 100″ or 120″ ALR screen (display). Our review unit came with the 100″ screen, which is massive. I barely fit the 100″ version in my space, and the 120″ version would not have worked. So do your research and measure your space before ordering. You could also buy the L9G without the screen and use a bare wall, but that’s not going to give you an optimal experience.
I love the size of this screen. It makes you feel like you’re in a theater and is significantly larger than even the 75″ TV I had in that space. But this is not a QLED or OLED backlit display. The light source comes from the Hisense L9G Laser TV unit, and as much as I’d like it to be as bright, it isn’t. This was also not a deal breaker because if you’re even remotely considering a Laser TV, you must know that brightness will not be as good as a backlit TV.
The space we installed the screen in has ambient and direct sunlight coming into the room mid to late afternoon. It’s not a huge deal because we do not use the TV during those hours. Still, you can watch programs comfortably, but some darker content, such as movies, might suffer if too much light enters the room.
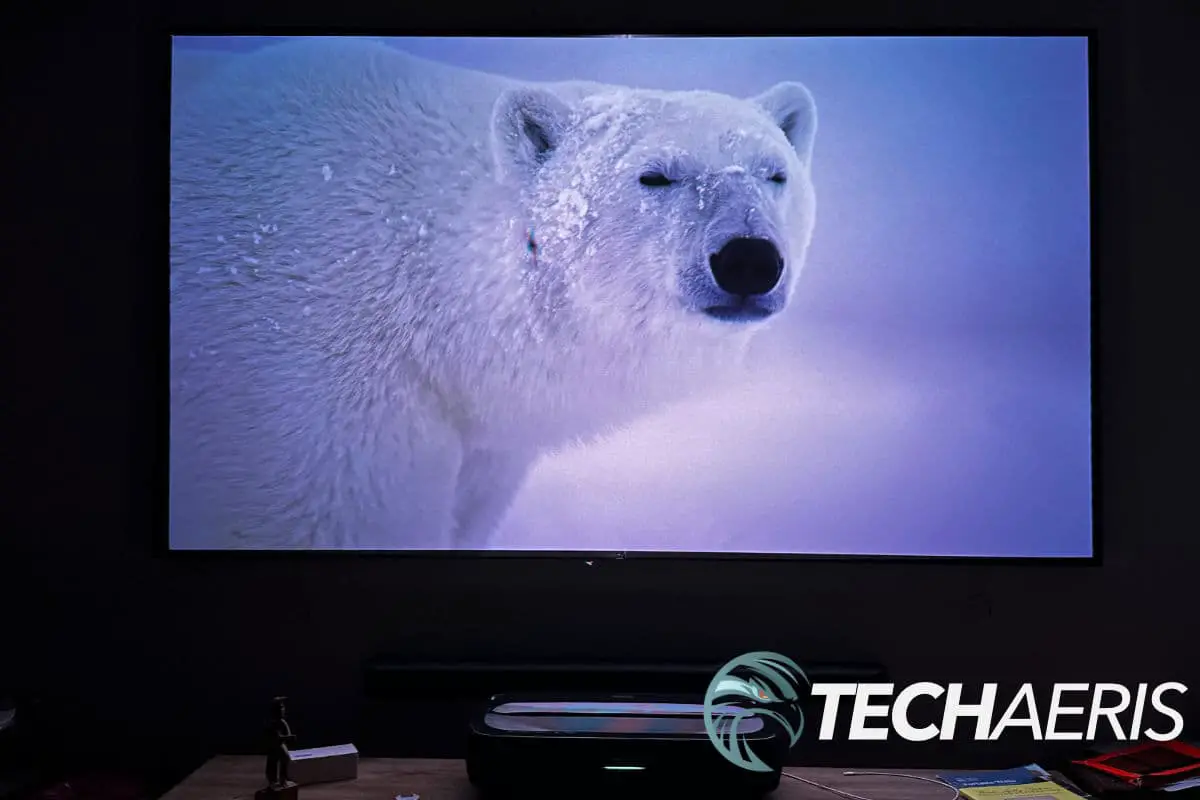
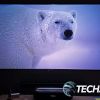
Viewing angles are good but get washed out the further off-axis you move, but it would have to be extreme. Viewing angles where it matters are excellent. The detail in 4K HDR10 is stunning! Watching nature programs that feature close-ups of fur and feathers is a good way to see the detail it delivers.
The colors are clean and bright, not as vibrant as a QLED or OLED TV, but that is expected, given the light source. Blacks have the same story; they are dark but not as dark as a TV, again, expected and part of the experience. Whites are also good, and the story remains the same for these.
The experience from this 100″ screen is the size. While the colors, brightness, blacks, whites, and viewing angles are not as good as those on a traditional backlit TV. Giving up some of those perks is part of the Laser TV experience. An ALR screen is one of the best ways to get a theater experience; with that comes some tradeoffs.
You must assess why you want something like the Hisense L9G Laser TV. This isn’t for you if you want to upgrade to a brighter, more vibrant picture. This display is for you if you want a large screen for more of a movie theater experience.
Software
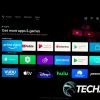
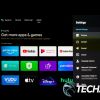
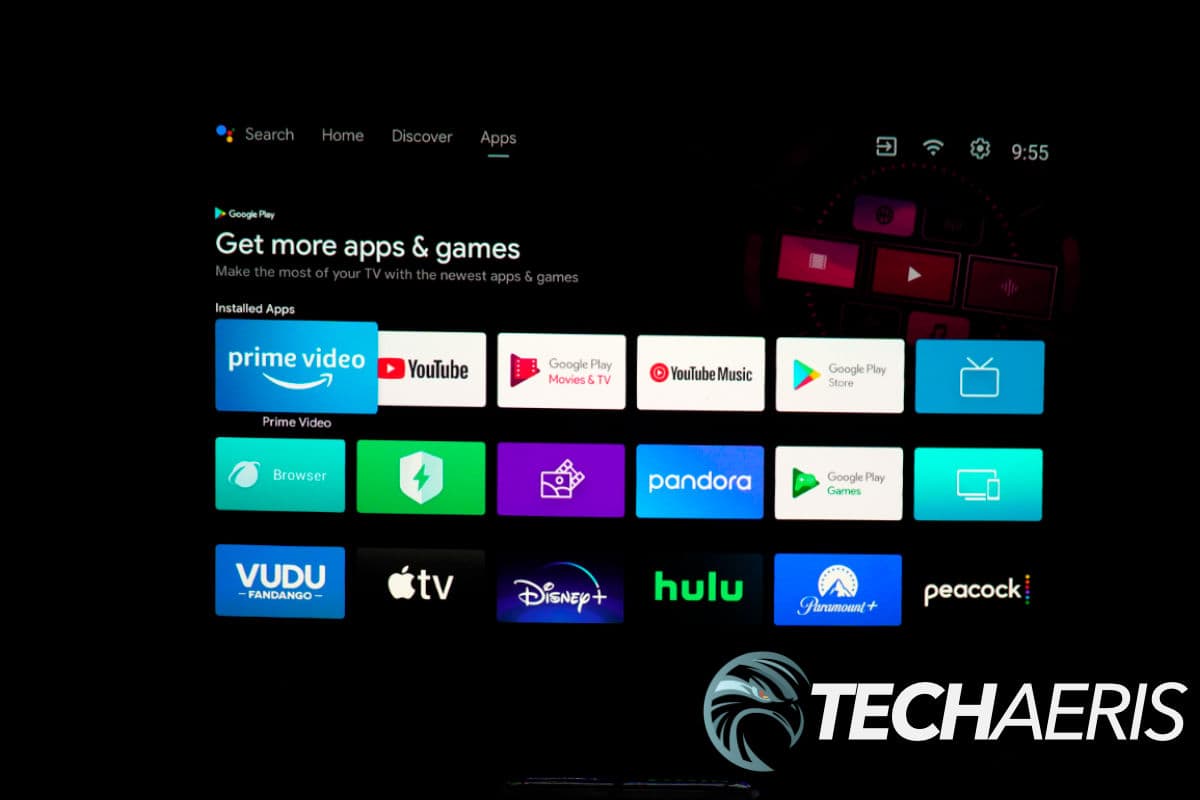
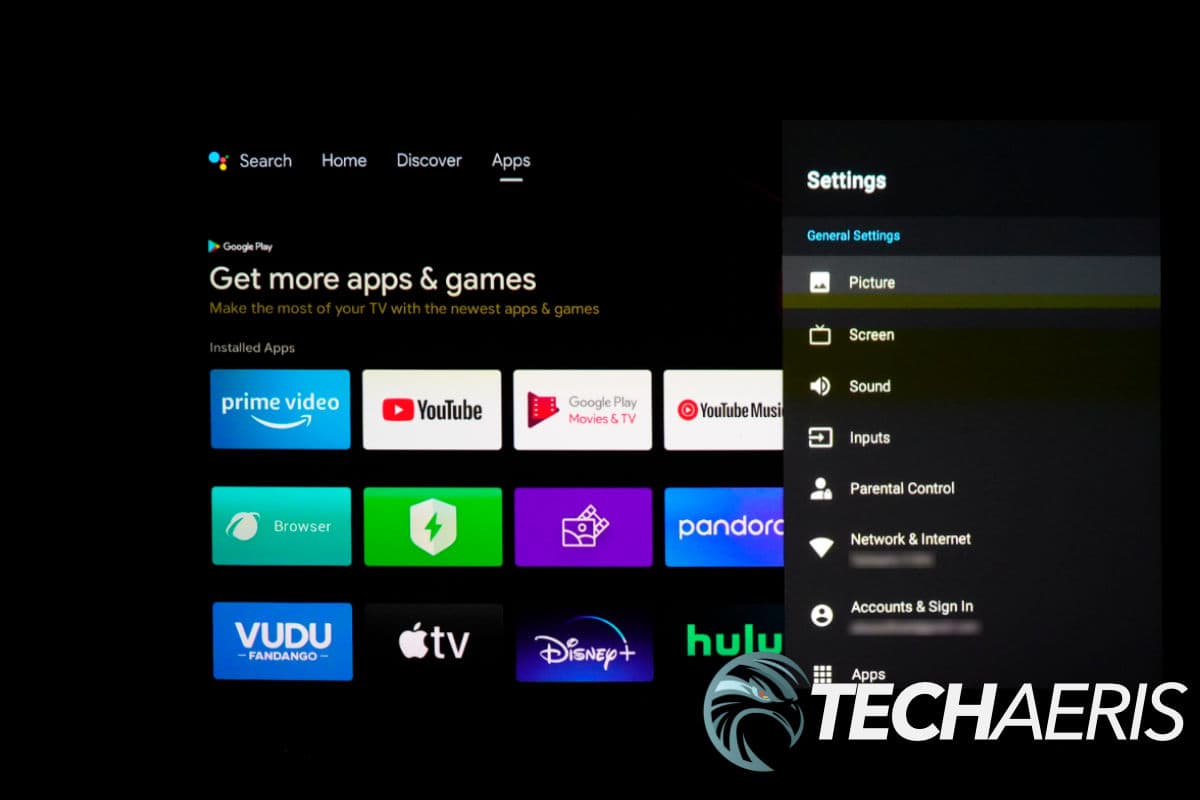
The Hisense L9G Laser TV runs Android TV software. I’ve never been a fan of Android TV or Google TV. It’s not as smooth or well-designed as Apple’s Apple TV. However, I did use Android TV on the L9G for a short time before I plugged in my 4K Apple TV.
Android TV has made some improvements; still, I’m not too fond of the advertising that comes with this software. As for usability, it’s okay; it works. Even if you don’t use the interface to consume content, you will need to use it for your Inputs and TV settings.
That portion of the interface, the settings, is excellent. It’s simple and well laid out, and everything is easily adjustable. Once I had all my settings dialed in and stopped using Android TV, I moved over to my Apple TV, and all worked great.
The L9G is also Dolby Vision, HDR10, and Dolby Atmos ready. I used Dolby Vision on the Apple TV but preferred the look of HDR10 over Dolby Vision. Dolby Atmos sounded excellent using a Samsung soundbar and the internal speakers; more on that later.
This unit is also Alexa-ready, it is something I refuse to use, but if you like Alexa, it is here.
Overall, I am not a fan of Android TV, which is subjective. The settings interface is excellent, well laid out, and easy to navigate and use. I’ll mention the geometric calibration again; it would be helpful if it didn’t rely so heavily on near precision. I’m sure many have used it successfully, but I’m equally sure some have experienced the same frustrations with it as I did.
Performance
Fan noise was one of my concerns with the Hisense L9G Laser TV. Well, I have been concerned with fan and cooling noise, not specifically the L9G, but with projectors in general. I know projectors can get noisy, and I was hoping that these newer ultra-short-throw projectors had improved, and they have.
While the L9G does run its fans to cool itself, they aren’t even noticeable when watching the TV. Not even during quiet moments in a movie did I ever hear the fans running. Internally you will find a three-laser light source that implements independent red, blue, and green lasers to project that brilliant 4K image on the ALR screen. The L9G outputs as much as 107% of the wide REC.2020 color space, and Hisense rates its laser light source at 25K hours.
The Hisense L9G Laser TV outputs 3,000 lumens which is plenty bright for the space we put it in. The L9G has Wi-Fi 5 and a Gigabit Ethernet port; I chose to hardwire mine. The three HDMI ports are great, but I would have liked to have seen four. At least one supports eARC for soundbars, so there is that. The proximity sensors for turning the lasers off are a bit annoying if one gets too close, but I understand the safety behind them.
While the picture quality is fantastic, the fact that this projector has a fixed focal length means you have to place it just right, or it won’t be in focus. So that can get a little frustrating, but once you hit the sweet spot, you’re golden.
There are things like motion smoothing and other software settings that you can change to make the image and quality better. I recommend poking around the settings for a reasonable amount of time to dial in the picture the way you want them and what looks good to your eyes.
Gaming performance is acceptable. I’m not a huge gamer, so the 60Hz refresh rate works fine. Strangely, the HDMI port I have my Xbox connected to says it supports a 120Hz refresh rate, but I never got 120Hz. My kids loved that they could all see their individual gaming screens (when in multiplayer mode) much better than even on the 75″ Samsung. But hardcore gamers aren’t going to like this for gaming.
Overall, the performance of the Hisense L9G Laser TV is great. There are some concerns for gamers, and as mentioned in the display section, the picture is not as bright and vibrant as a backlit TV, but things like that are expected in a projector/screen setup.
Hisense L9G Laser TV Photo Gallery
Sound Quality
The internal speakers on the L9G are a pair of 40W Dolby Atmos speakers that sound fantastic for their size. They lack a deep lower bass level but aren’t so thin that they are unusable. These are very usable in a small room. For bigger rooms, I’d pair a soundbar with the L9G, preferably something that uses HDMI eARC, as that will give you the best experience.
Price/Value
The 100″ Hisense L9G Laser TV bundle will set you back US$5497, which seems like a lot, but there are some excellent additional value adds. The ALR screen is the biggest, as many of the L9G’s competitors do not include a screen. Currently, as of this review, ProjectorScreen has this bundle on sale for US$4497, a great deal.
Wrap Up
The L9G was my first experience with an ultra-short-throw projector or Laser TV. The learning curve was not steep but uphill, and I had to overcome a lot of inexperience. The biggest hurdle was setting up and getting the picture correct and aligned.
While the L9G has less expensive competition and, in some ways, they are easier to set up and use; I think this is a projector worth considering. The L9G is bright, has an excellent picture, is massive, and, best of all, you get that ALR screen, which helps improve the image.
In some of our articles and especially in our reviews, you will find Amazon or other affiliate links. As Amazon Associates, we earn from qualifying purchases. Any other purchases you make through these links often result in a small amount being earned for the site and/or our writers. Techaeris often covers brand press releases. Doing this does not constitute an endorsement of any product or service by Techaeris. We provide the press release information for our audience to be informed and make their own decision on a purchase or not. Only our reviews are an endorsement or lack thereof. For more information, you can read our full disclaimer.
Last Updated on August 6, 2023.

